- Details
- Hits: 7224
Bridge repair
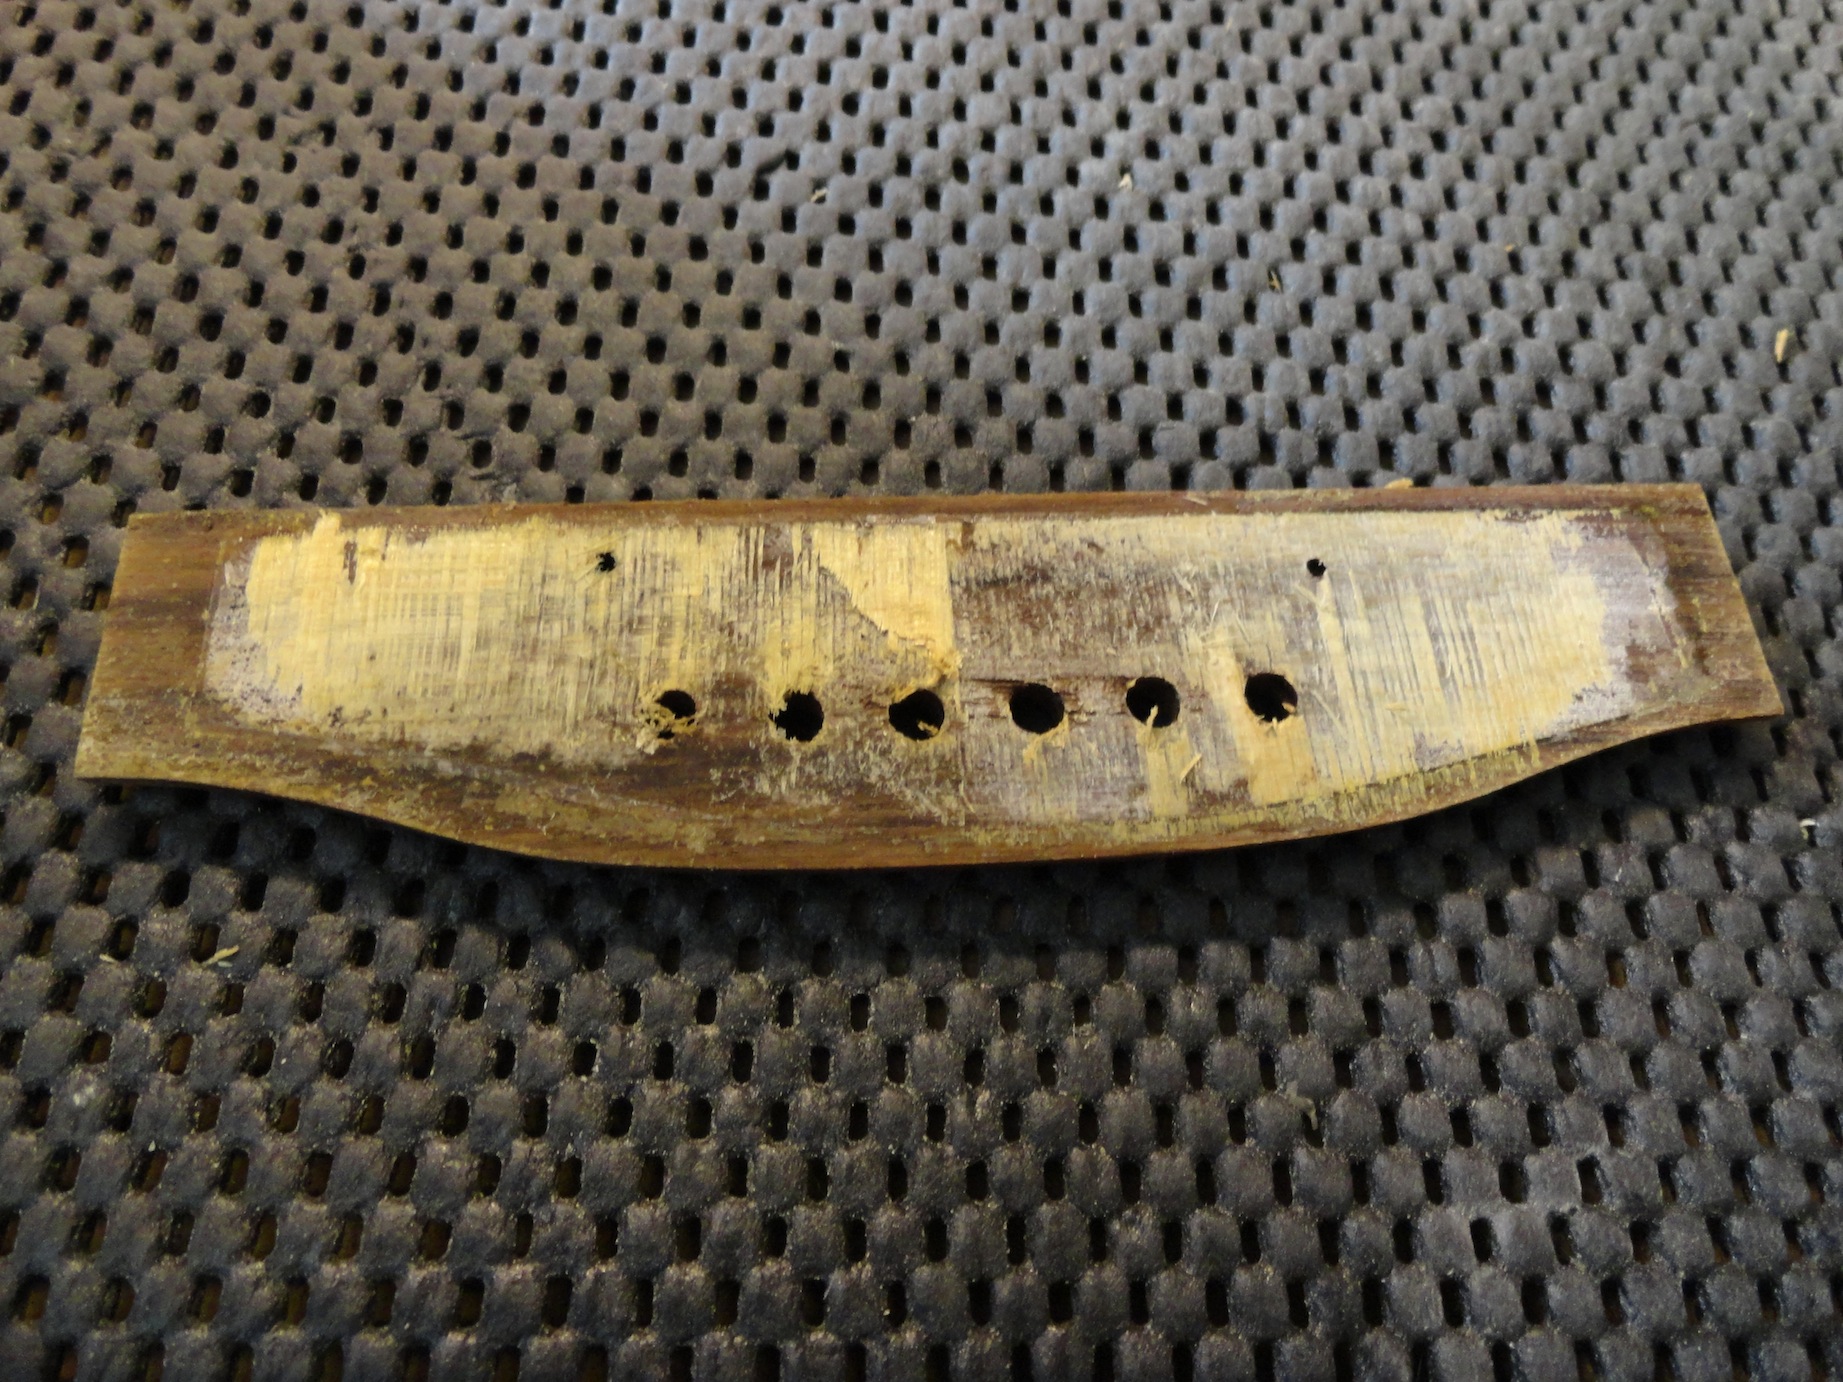
I also glued the bridge back onto the Nelson today. Once the surfaces weres cleaned up and matched, I just needed to glue it back in. In order to position the bridge correctly on the top, I drilled 2 little pilot holes in the saddle slot and through the top. This way, all stays in place. There is a large piece of non-stick teflon in the guitar and under the bridge plate, which allows me to clamp it all down firmly, whithout any damage to the top wood.
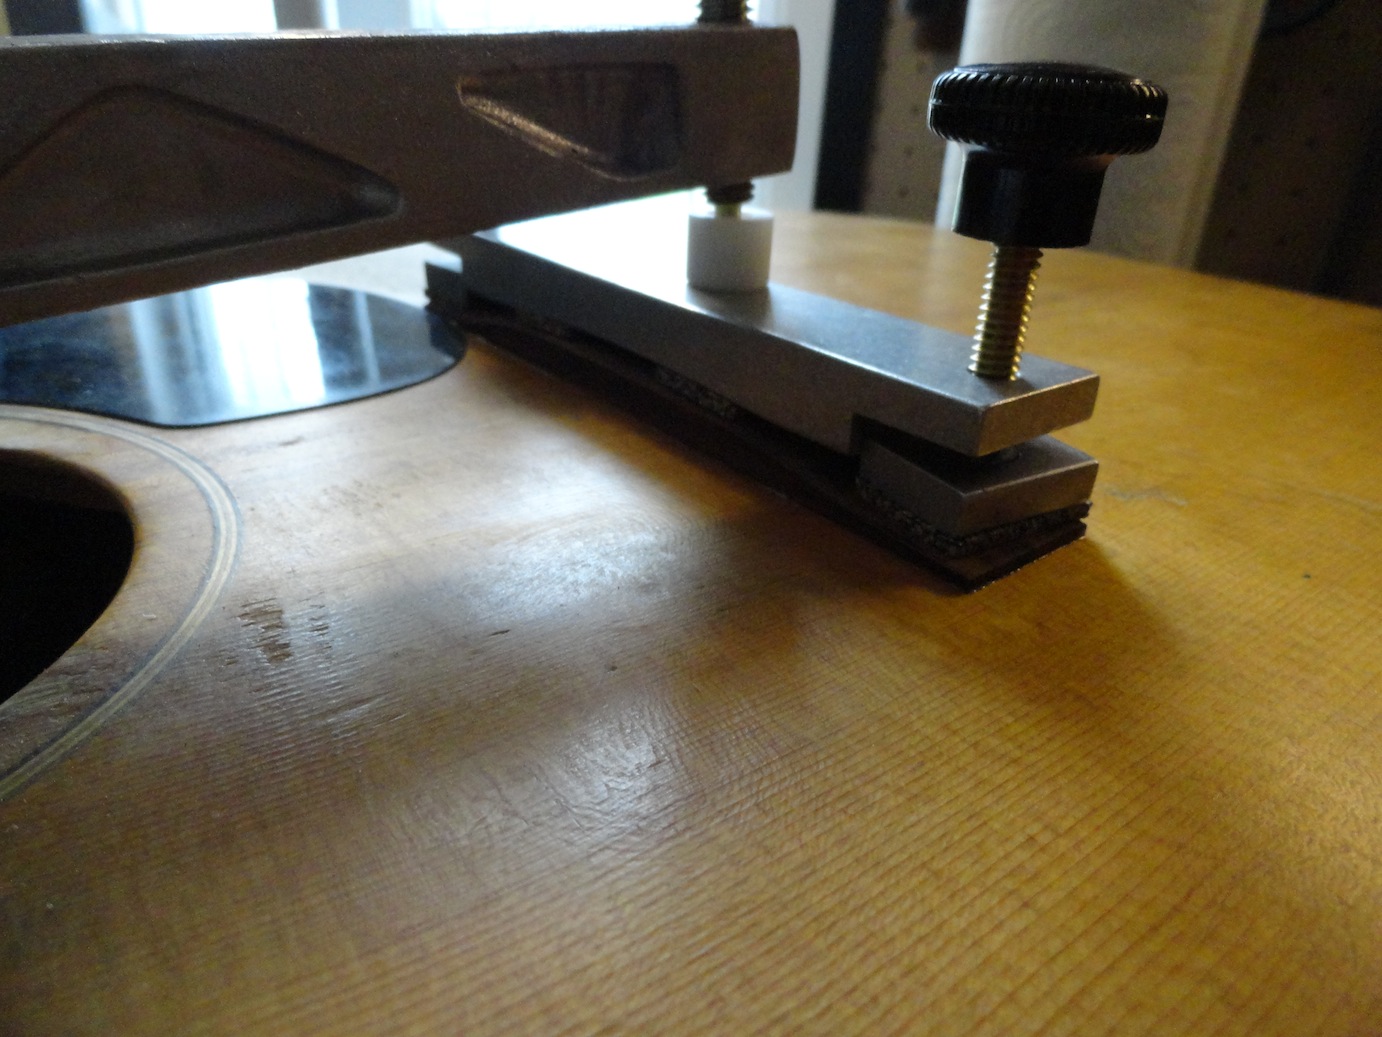
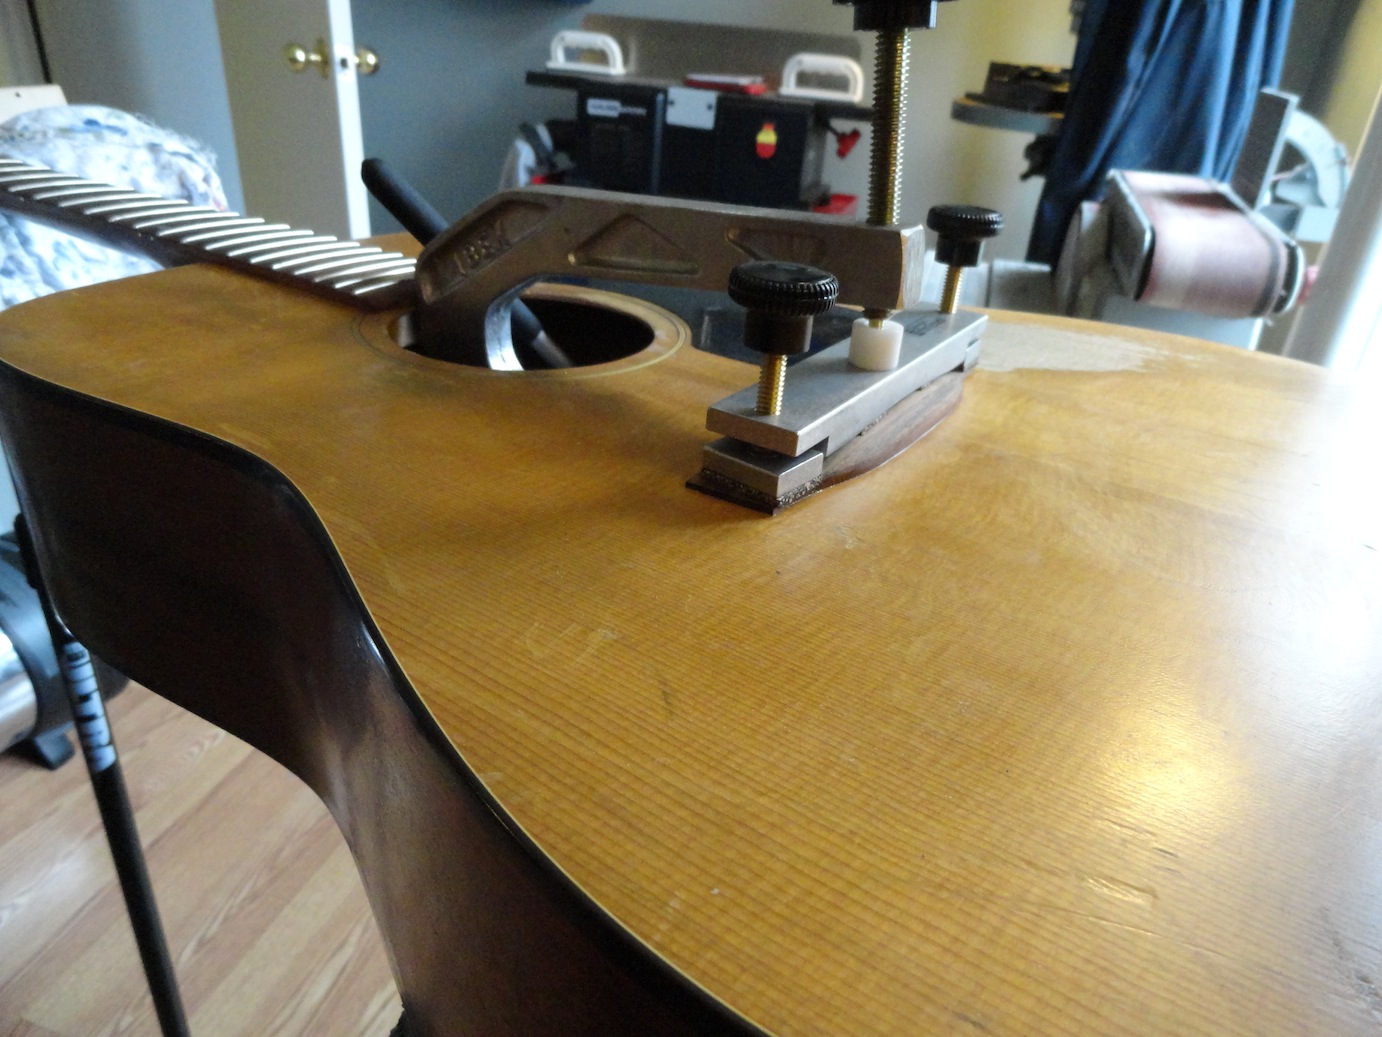
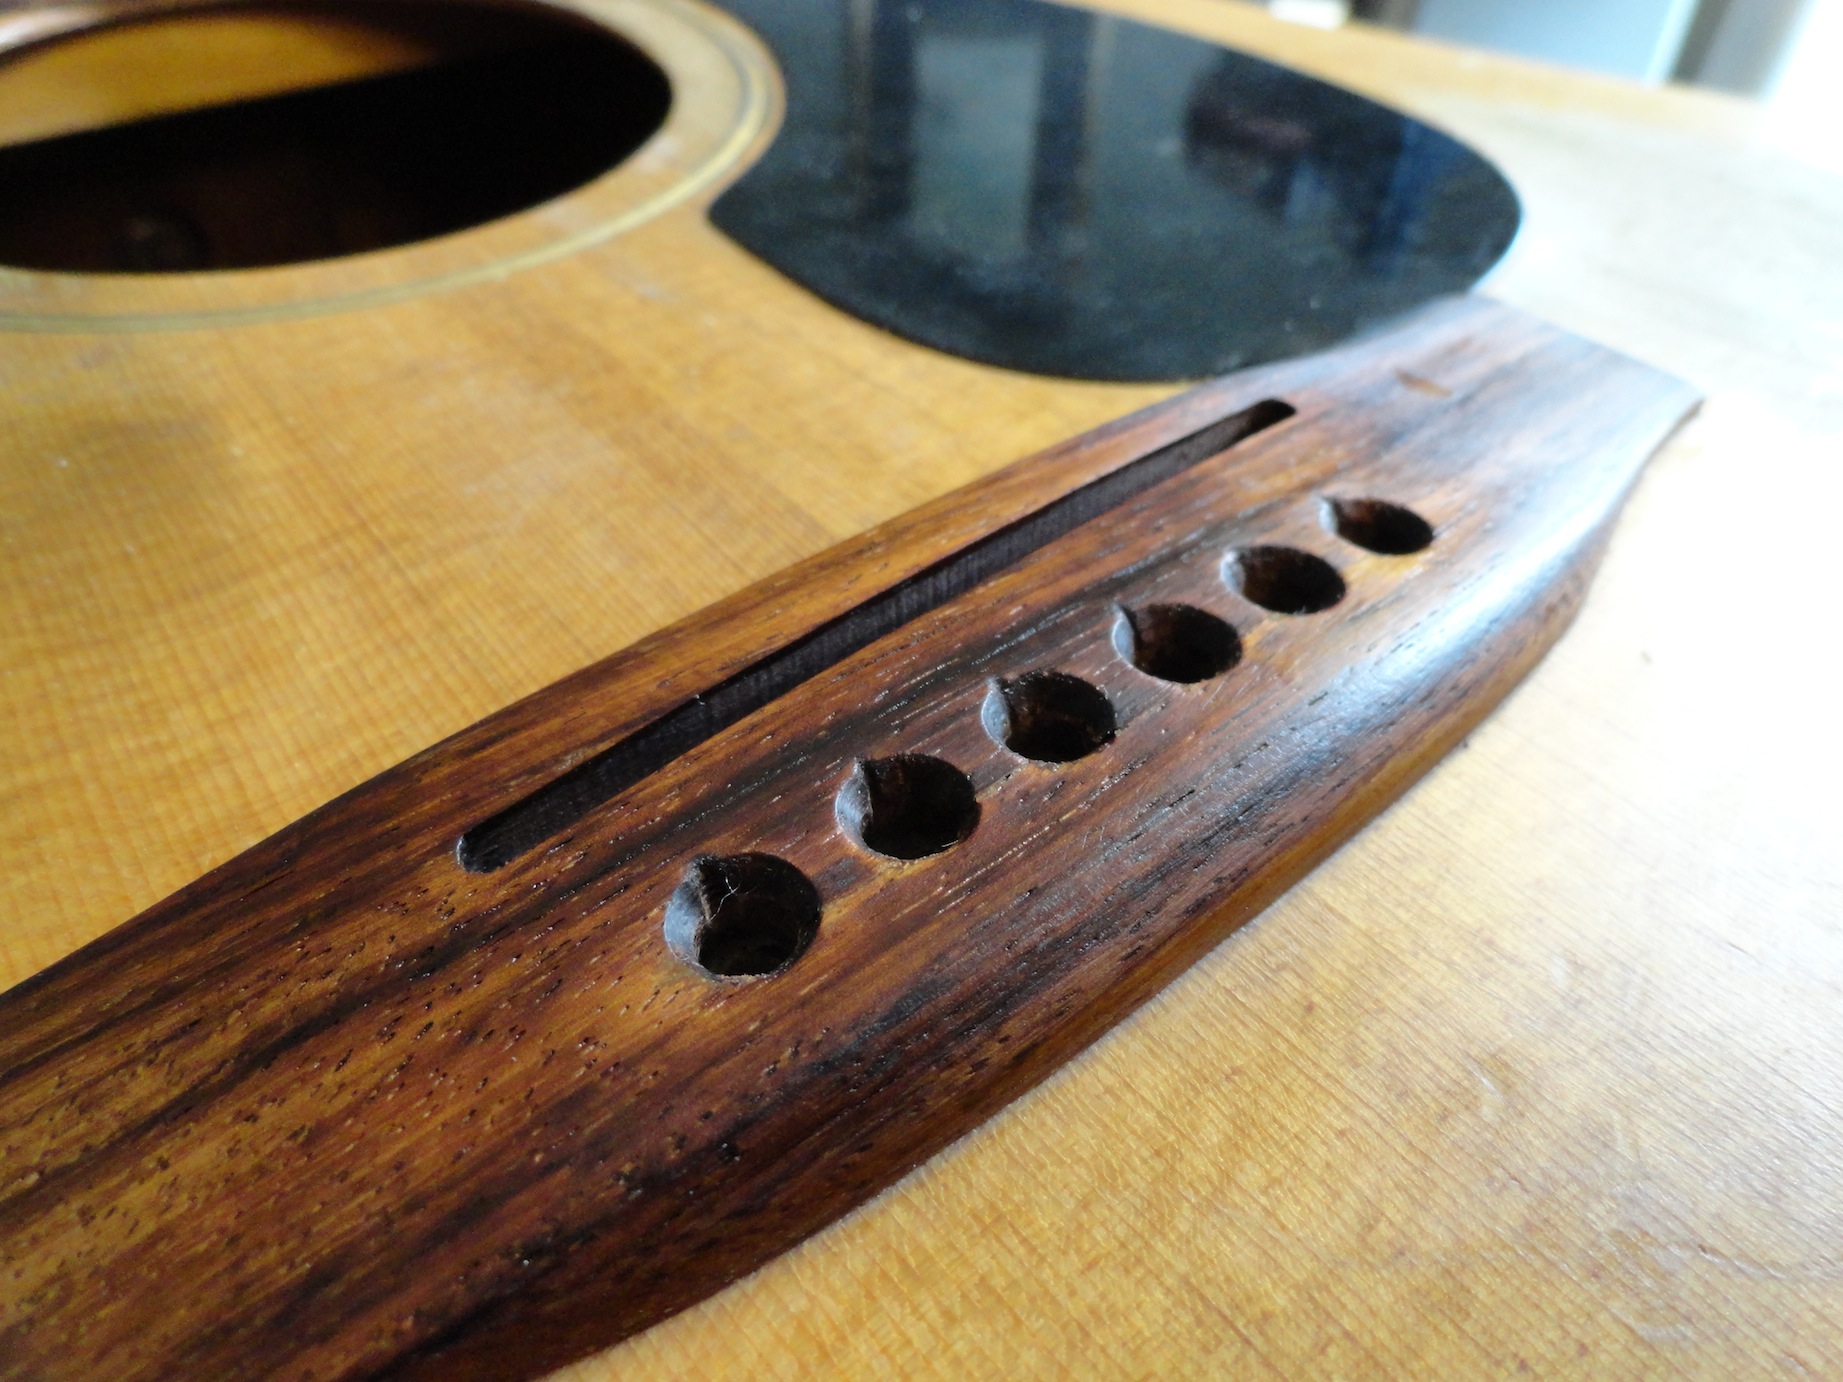
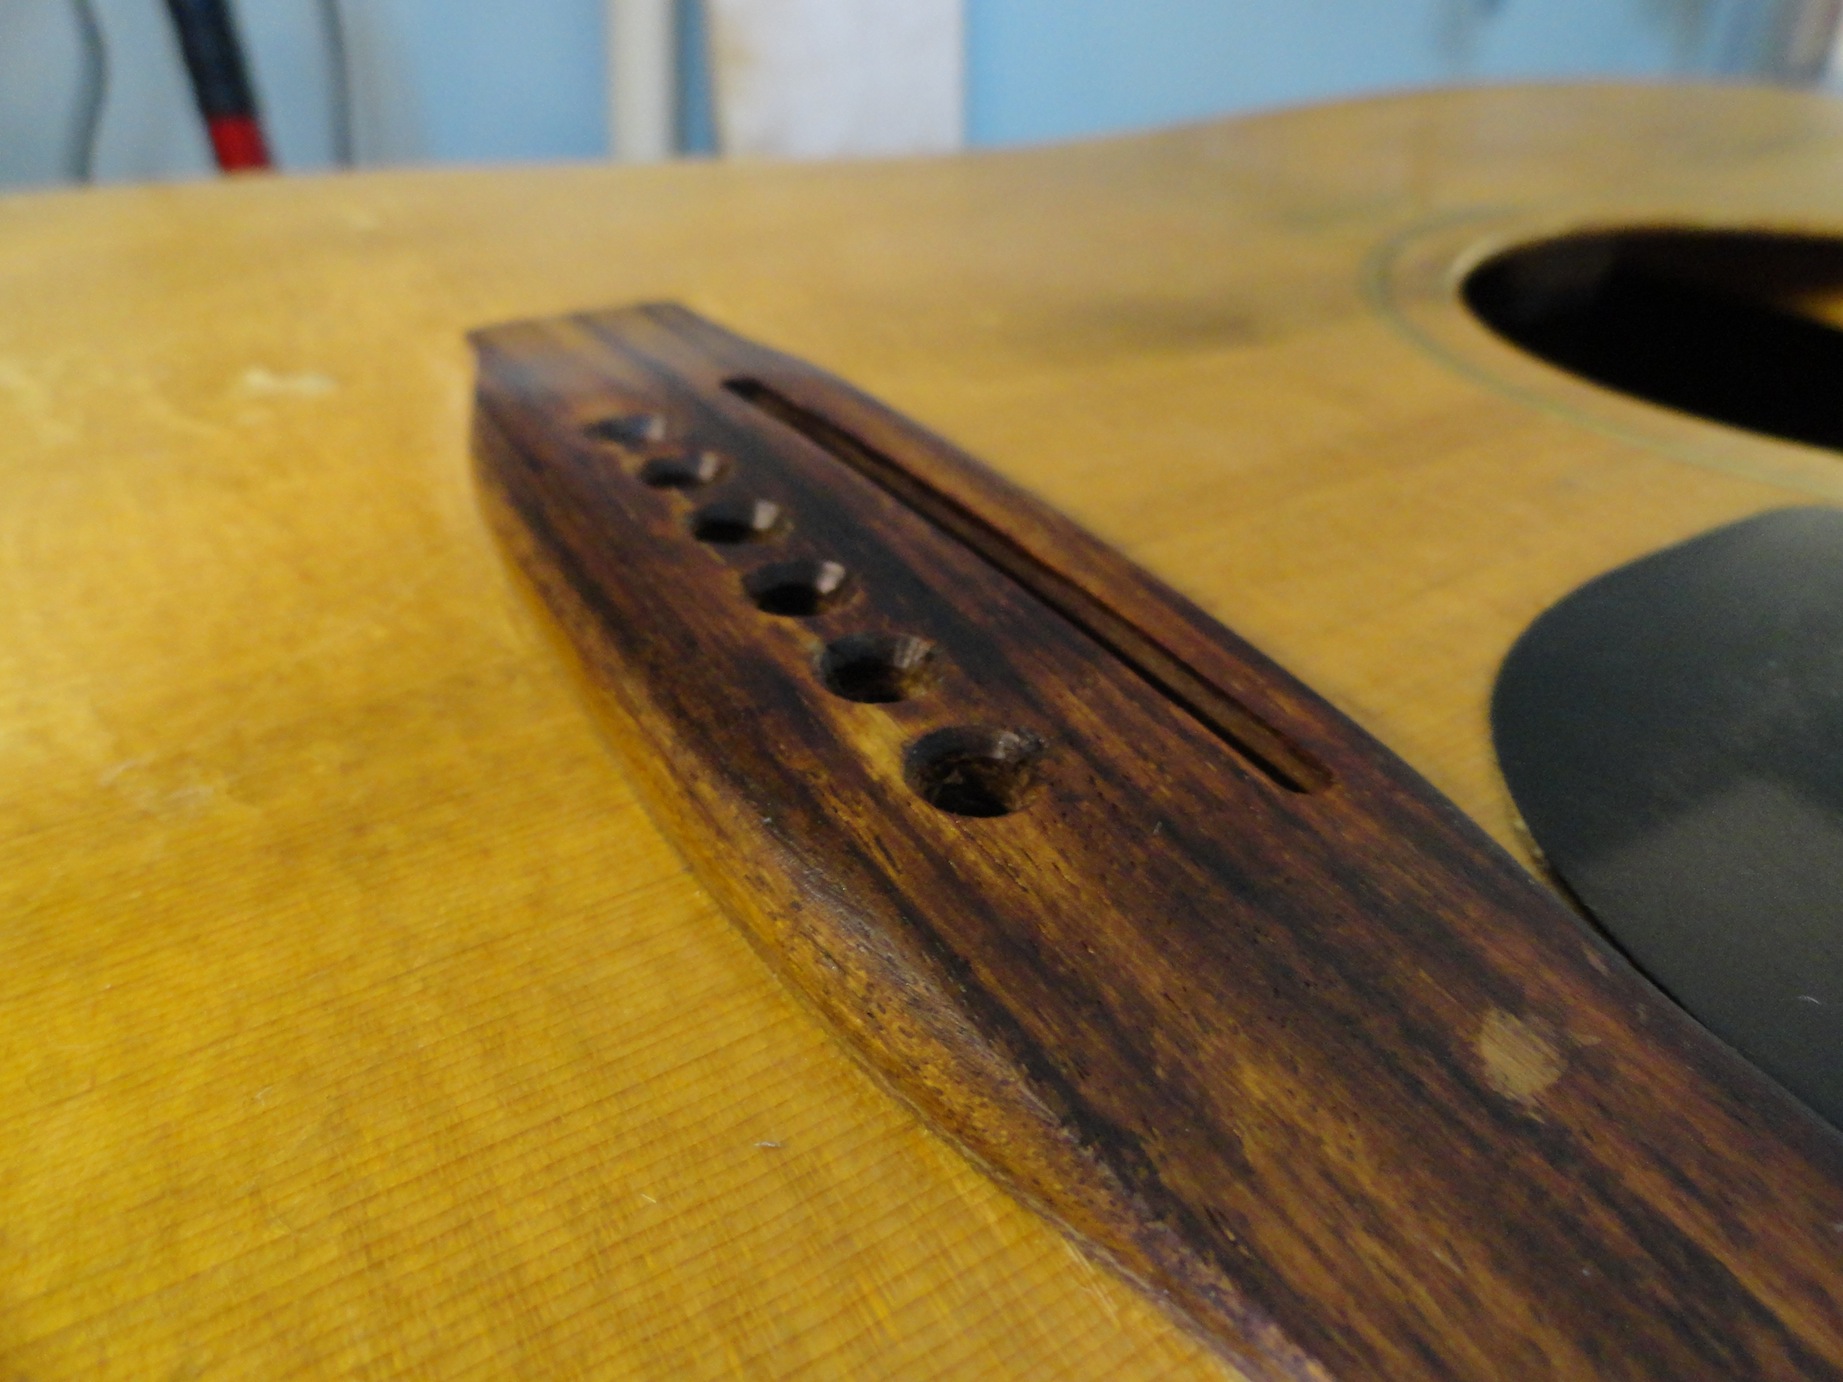
And once that was done. I had to fix the crack in the bridge. Sorry, but I can't tell you how this is done...
- Details
- Hits: 9498
Cracked headstock repair
Today I fixed the broken headstock on the Willie Nelson guitar. The tuners were the only thing keeping it from actually snapping off from the string tention. It's always a little stressfull to fix a cracked headstock, because you need to pry open the crack to get the glue in. You have to move very slowly, or the headstockcould just snap off. If that happens, you're in for a little more work to fix it.
Luckilly, all went well on the Willie Nelson. I pried the crack open really slowly with a wide, tappered shim. Then, I filled the crack with glue, clamped it together and cleaned up the excess.
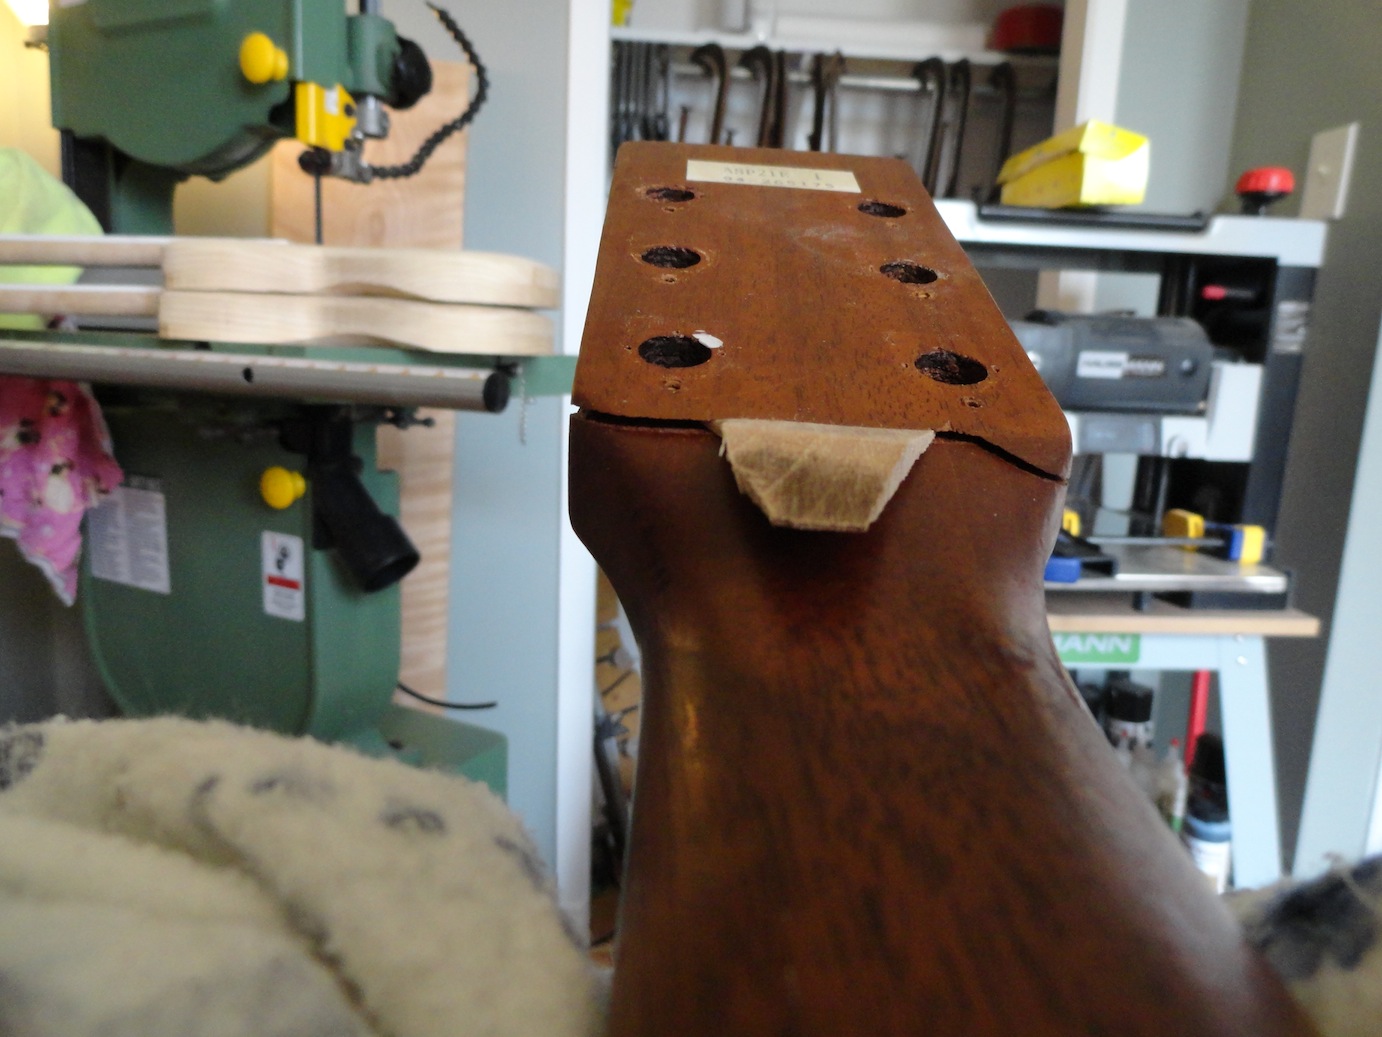
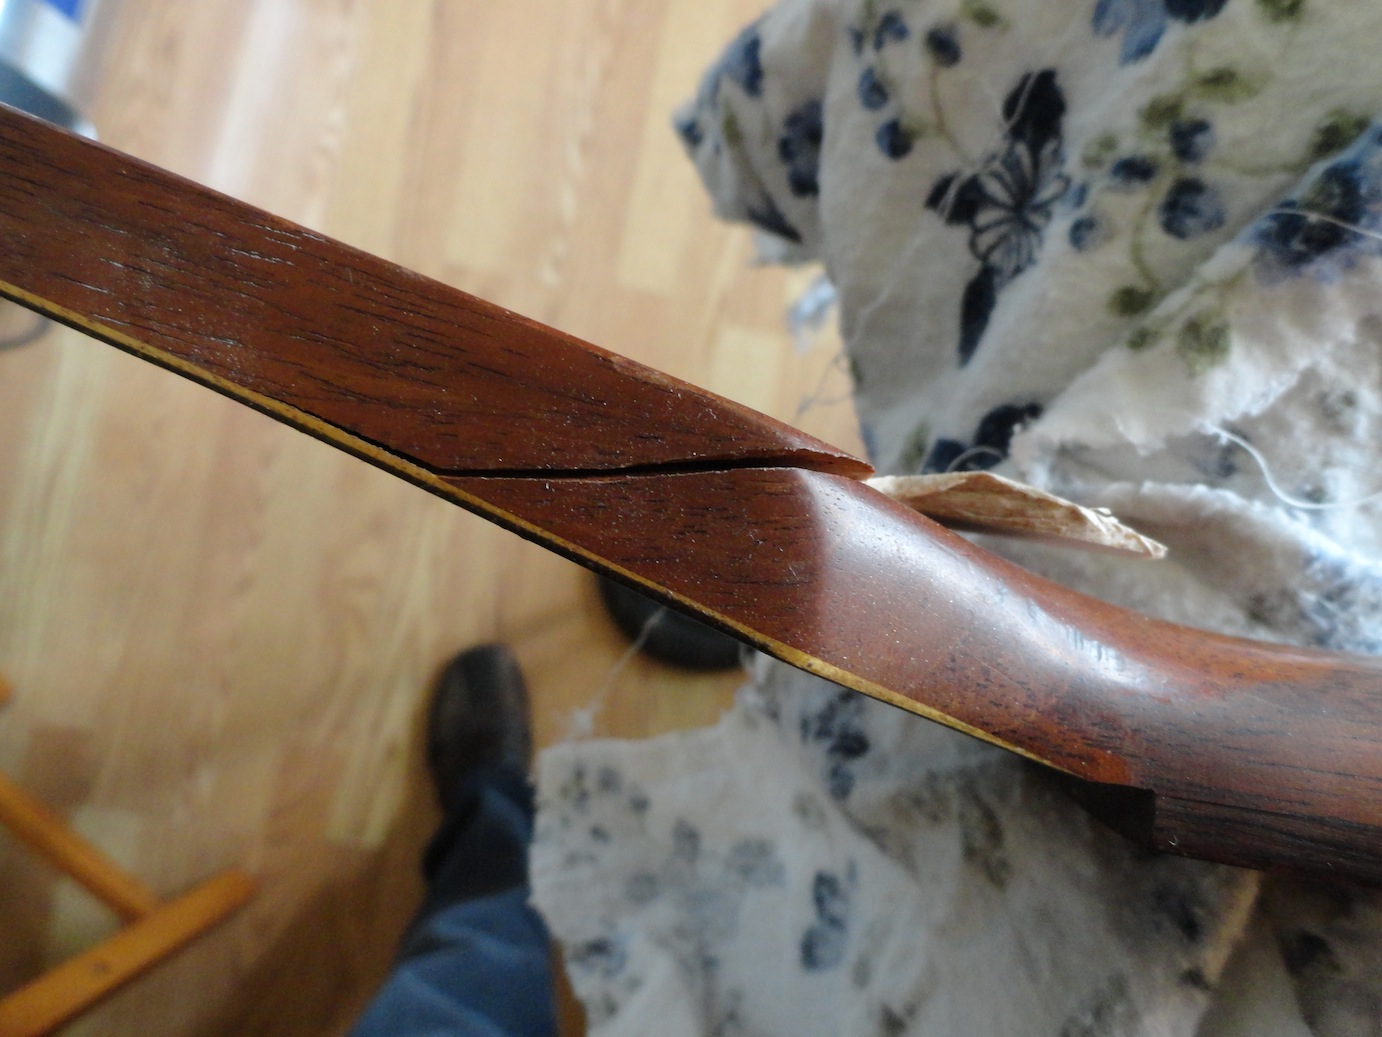
In the pictures above, you can see that this seemingly little crack is in fact a big one!
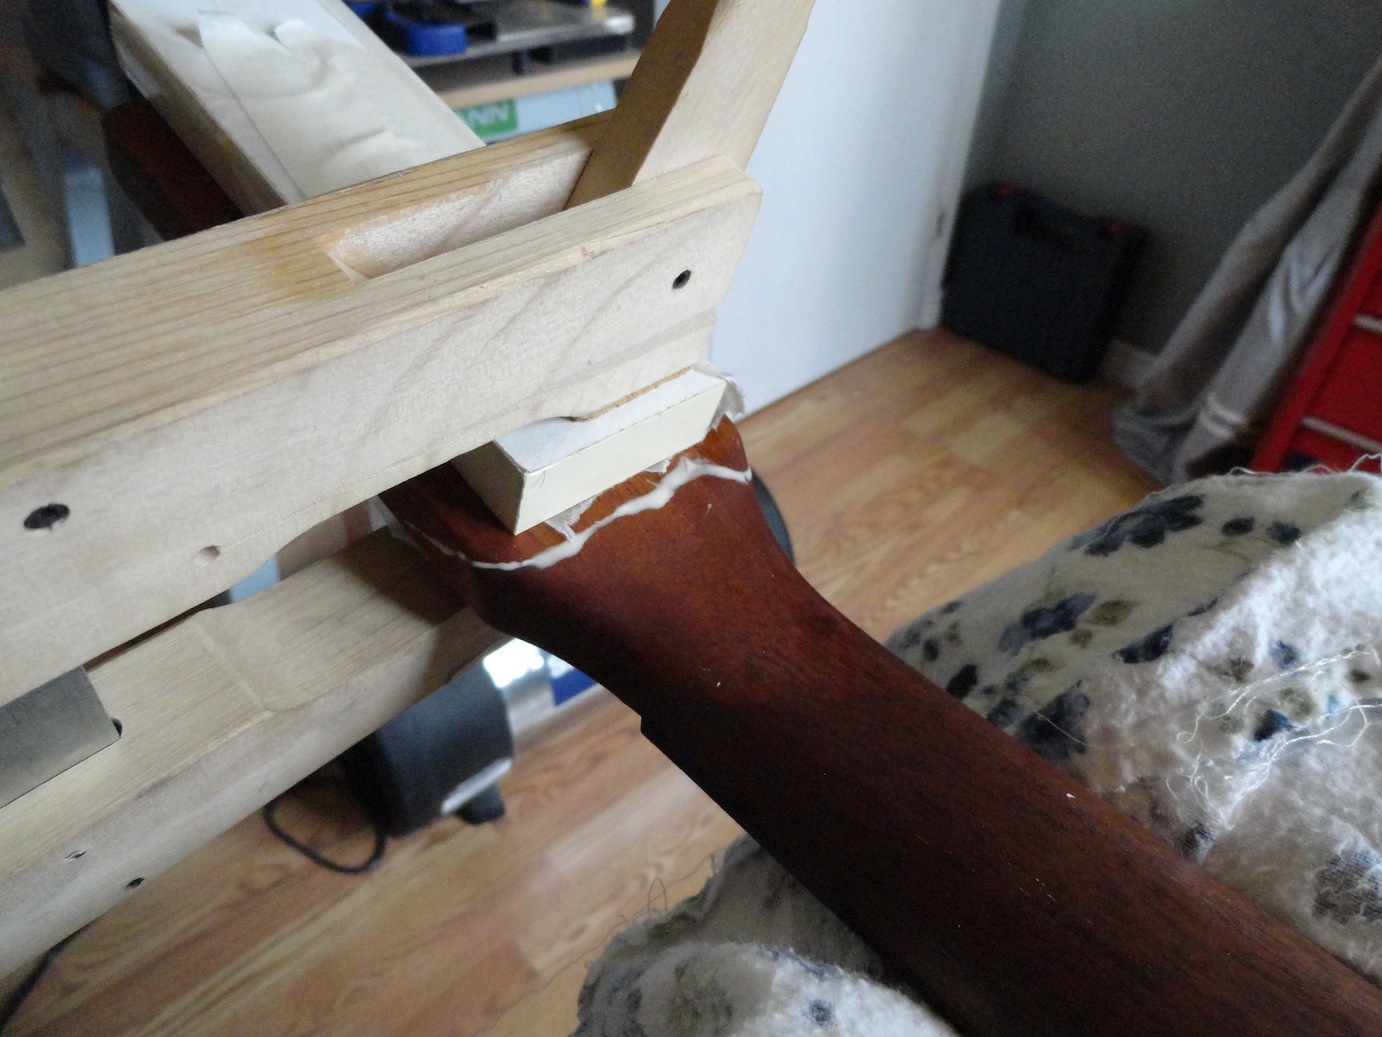
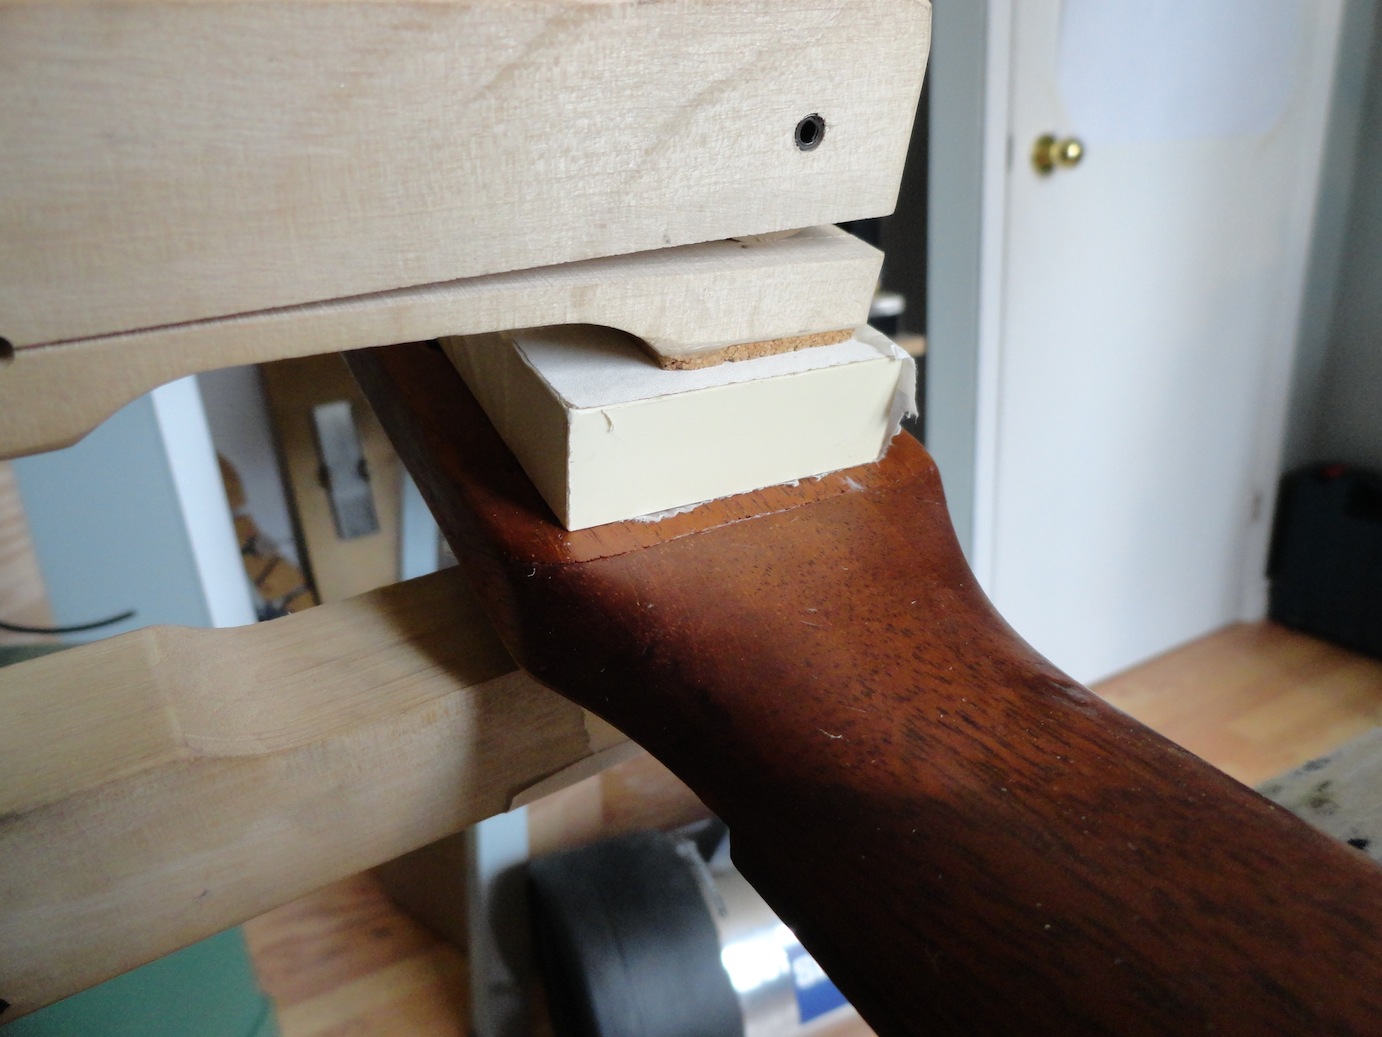
Now, you can see the finished join. Tomorrow, once the glue is completely dry, I will fill in the crack with a bit of lacquer and smooth is out. Like this, the player will never feel that broken headstock!
UPDATE:
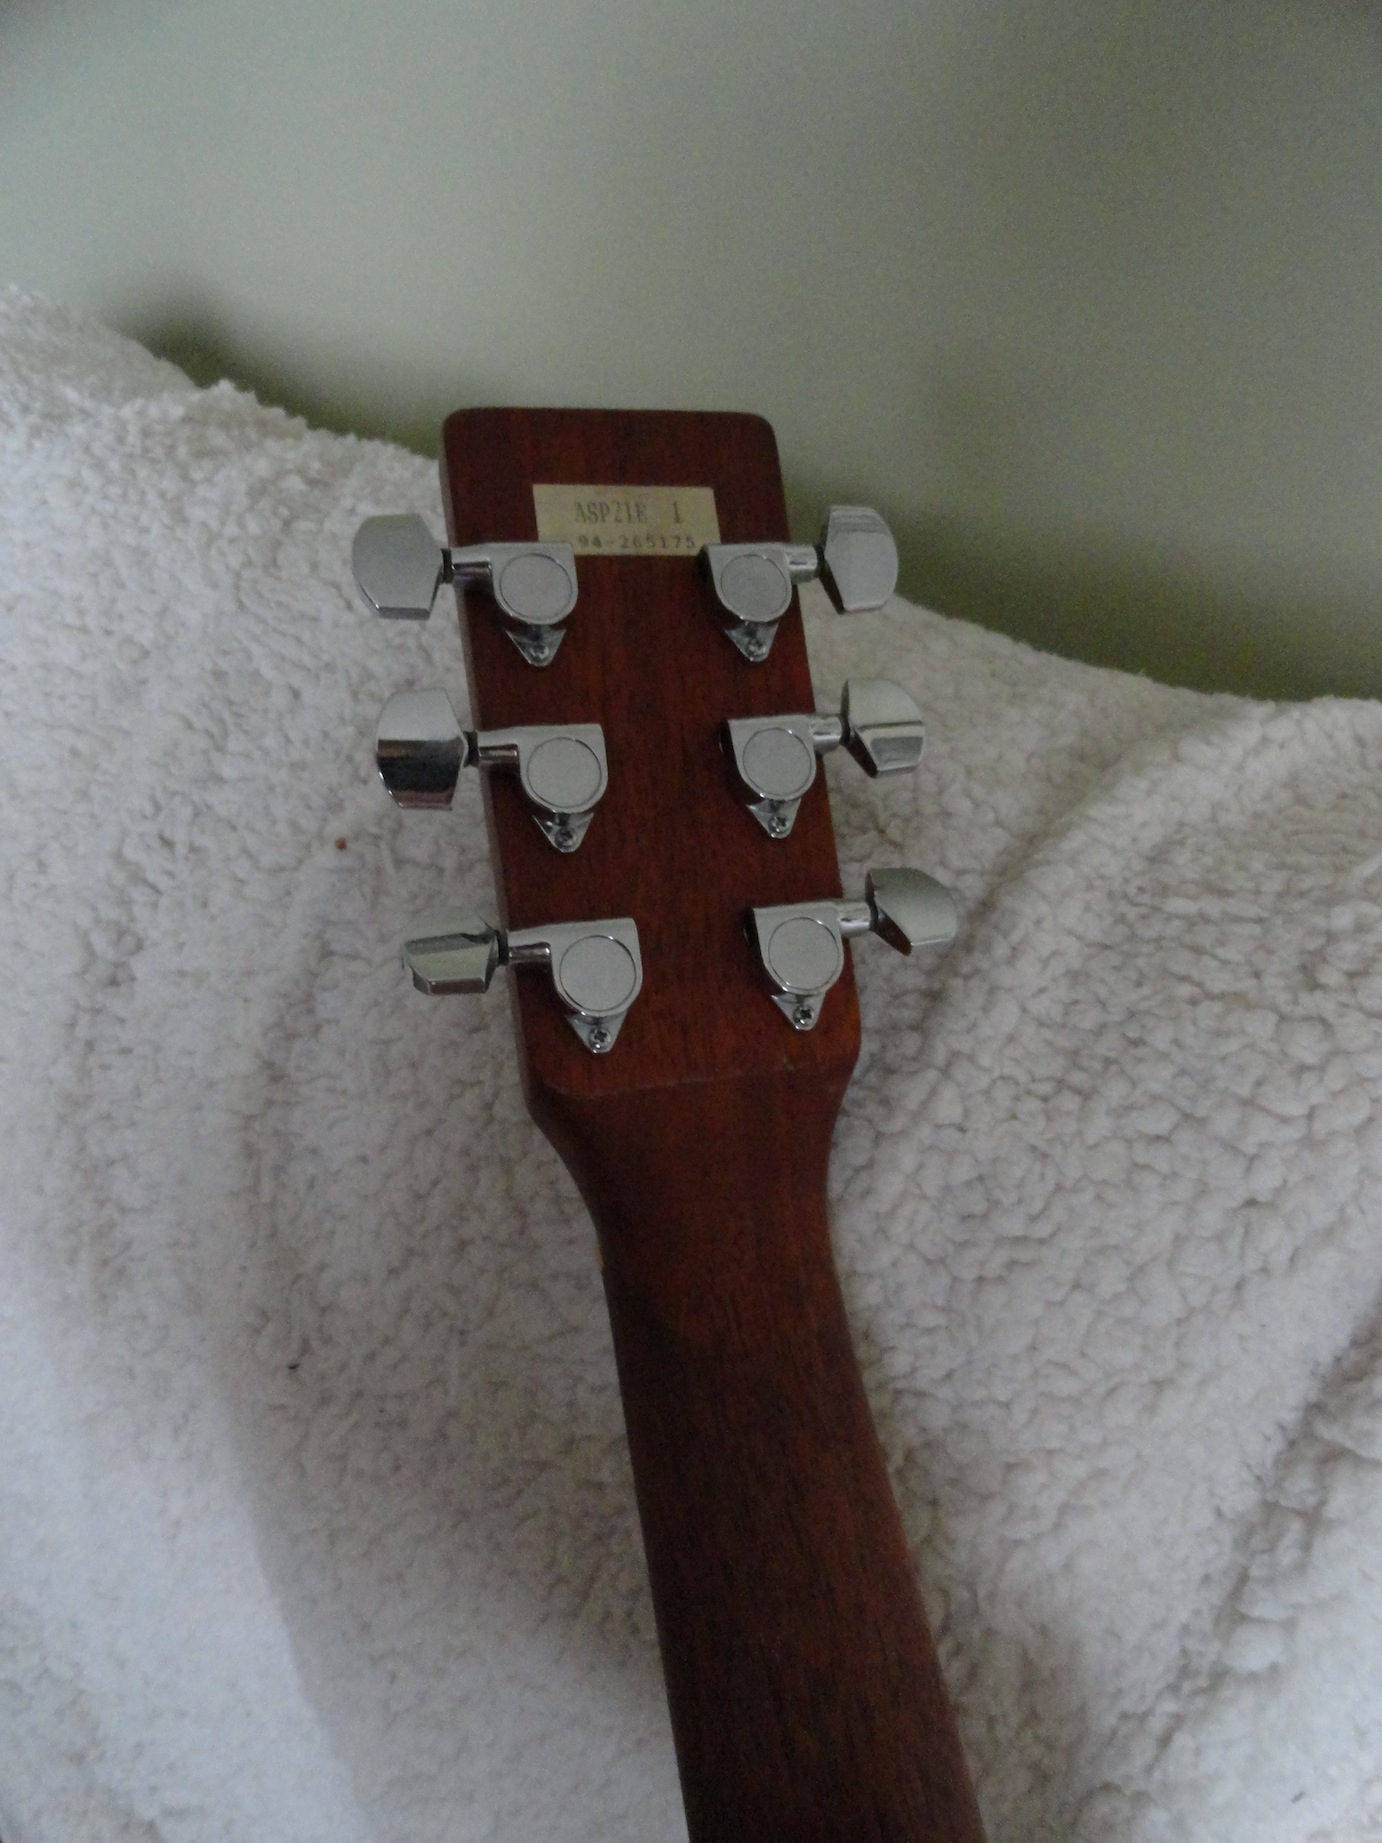
I finished the guitar today. I thought I would add to the thread by poting pictures of the finished headstock. Here it is:
- Details
- Hits: 9375
Another step completed on Jimmy's guitar today. I got all the fretwork done.
The fretboard has been levelled, then the frets inserted, glued, levelled, dressed and polished. Its a long job, and it's tiring, but look at those nice frets!
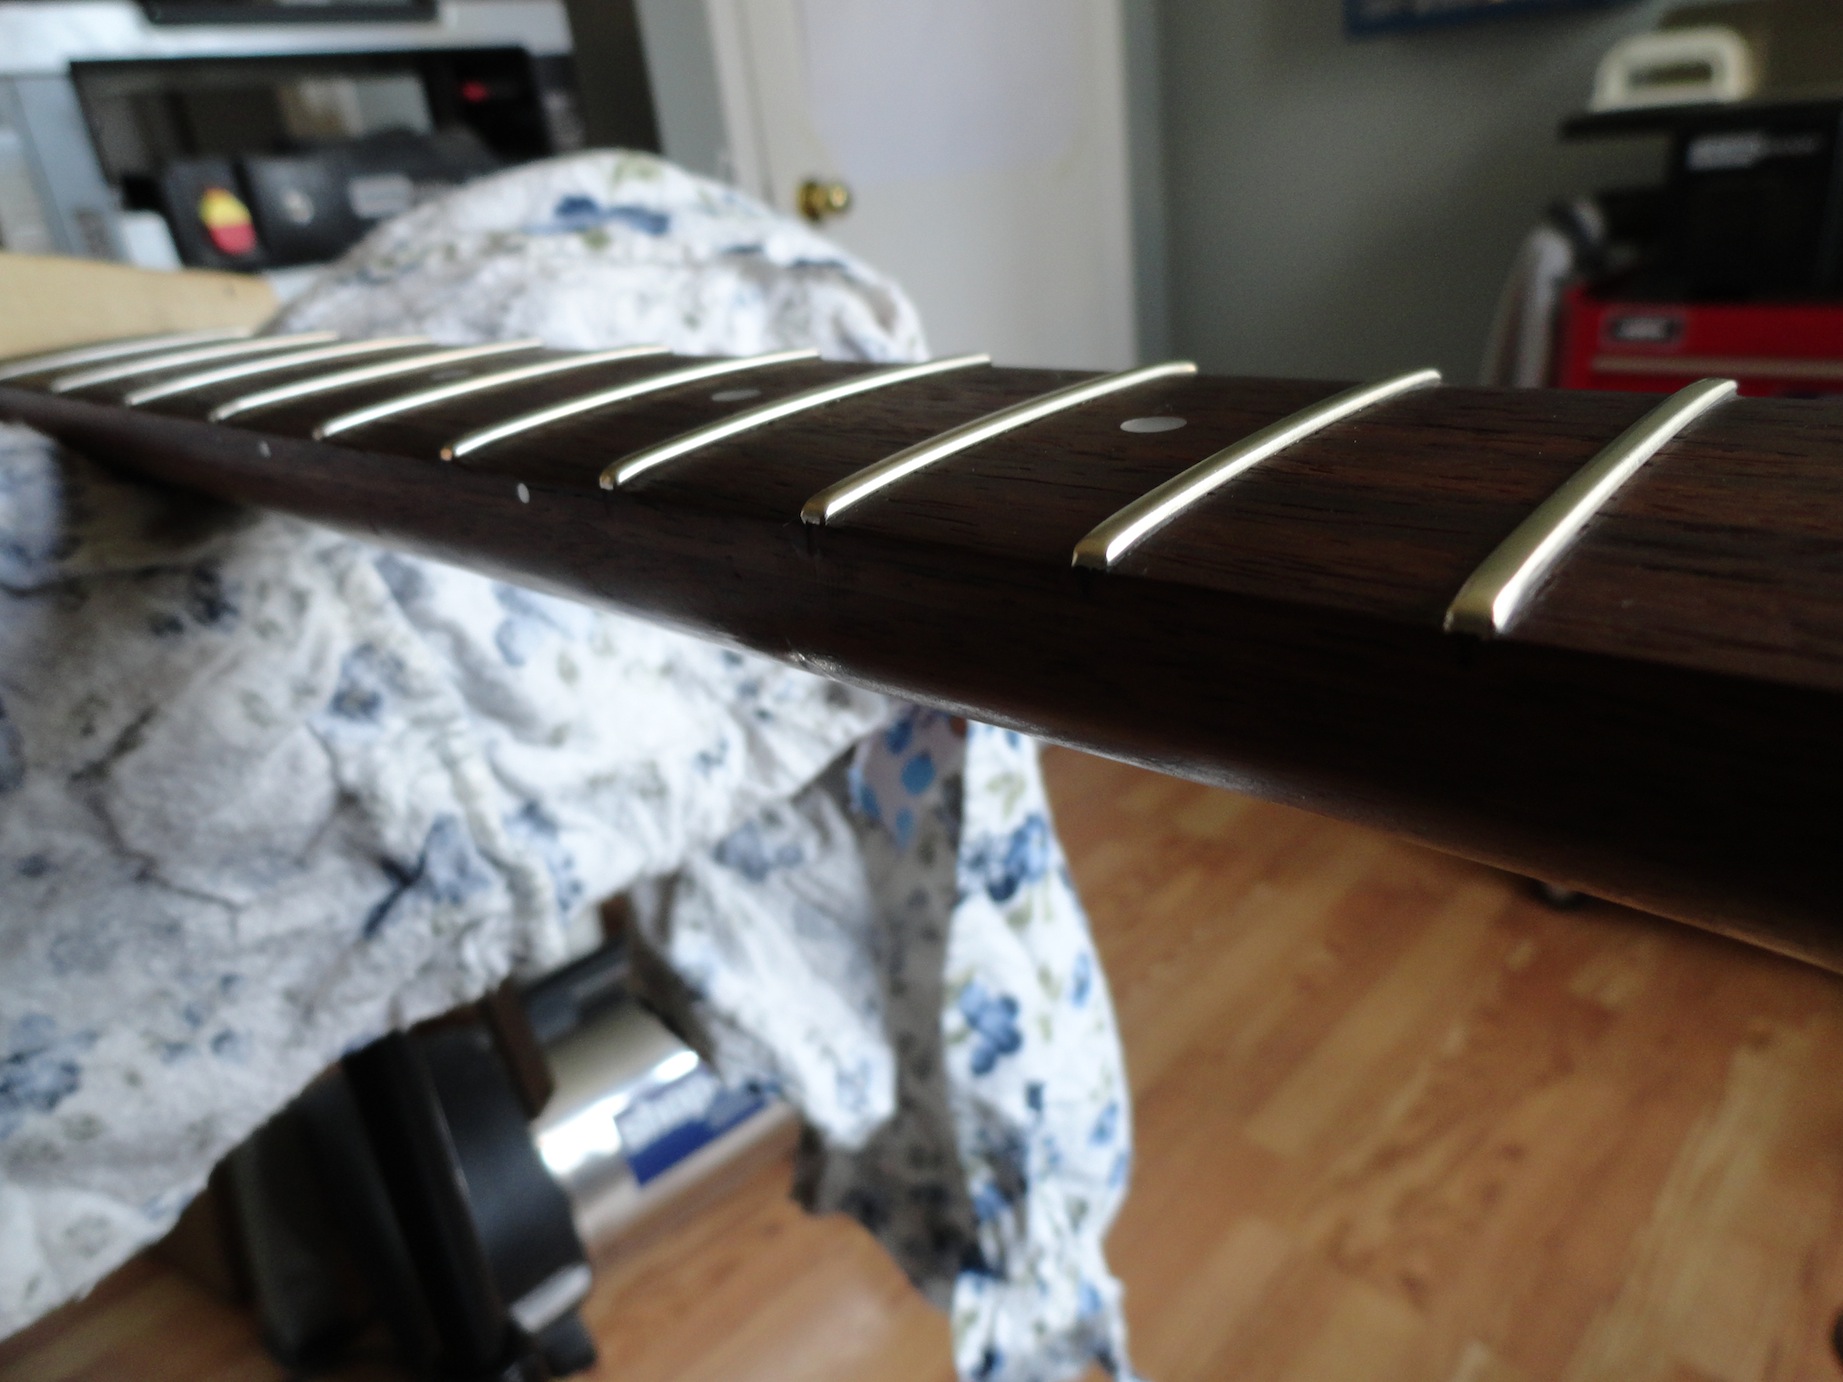
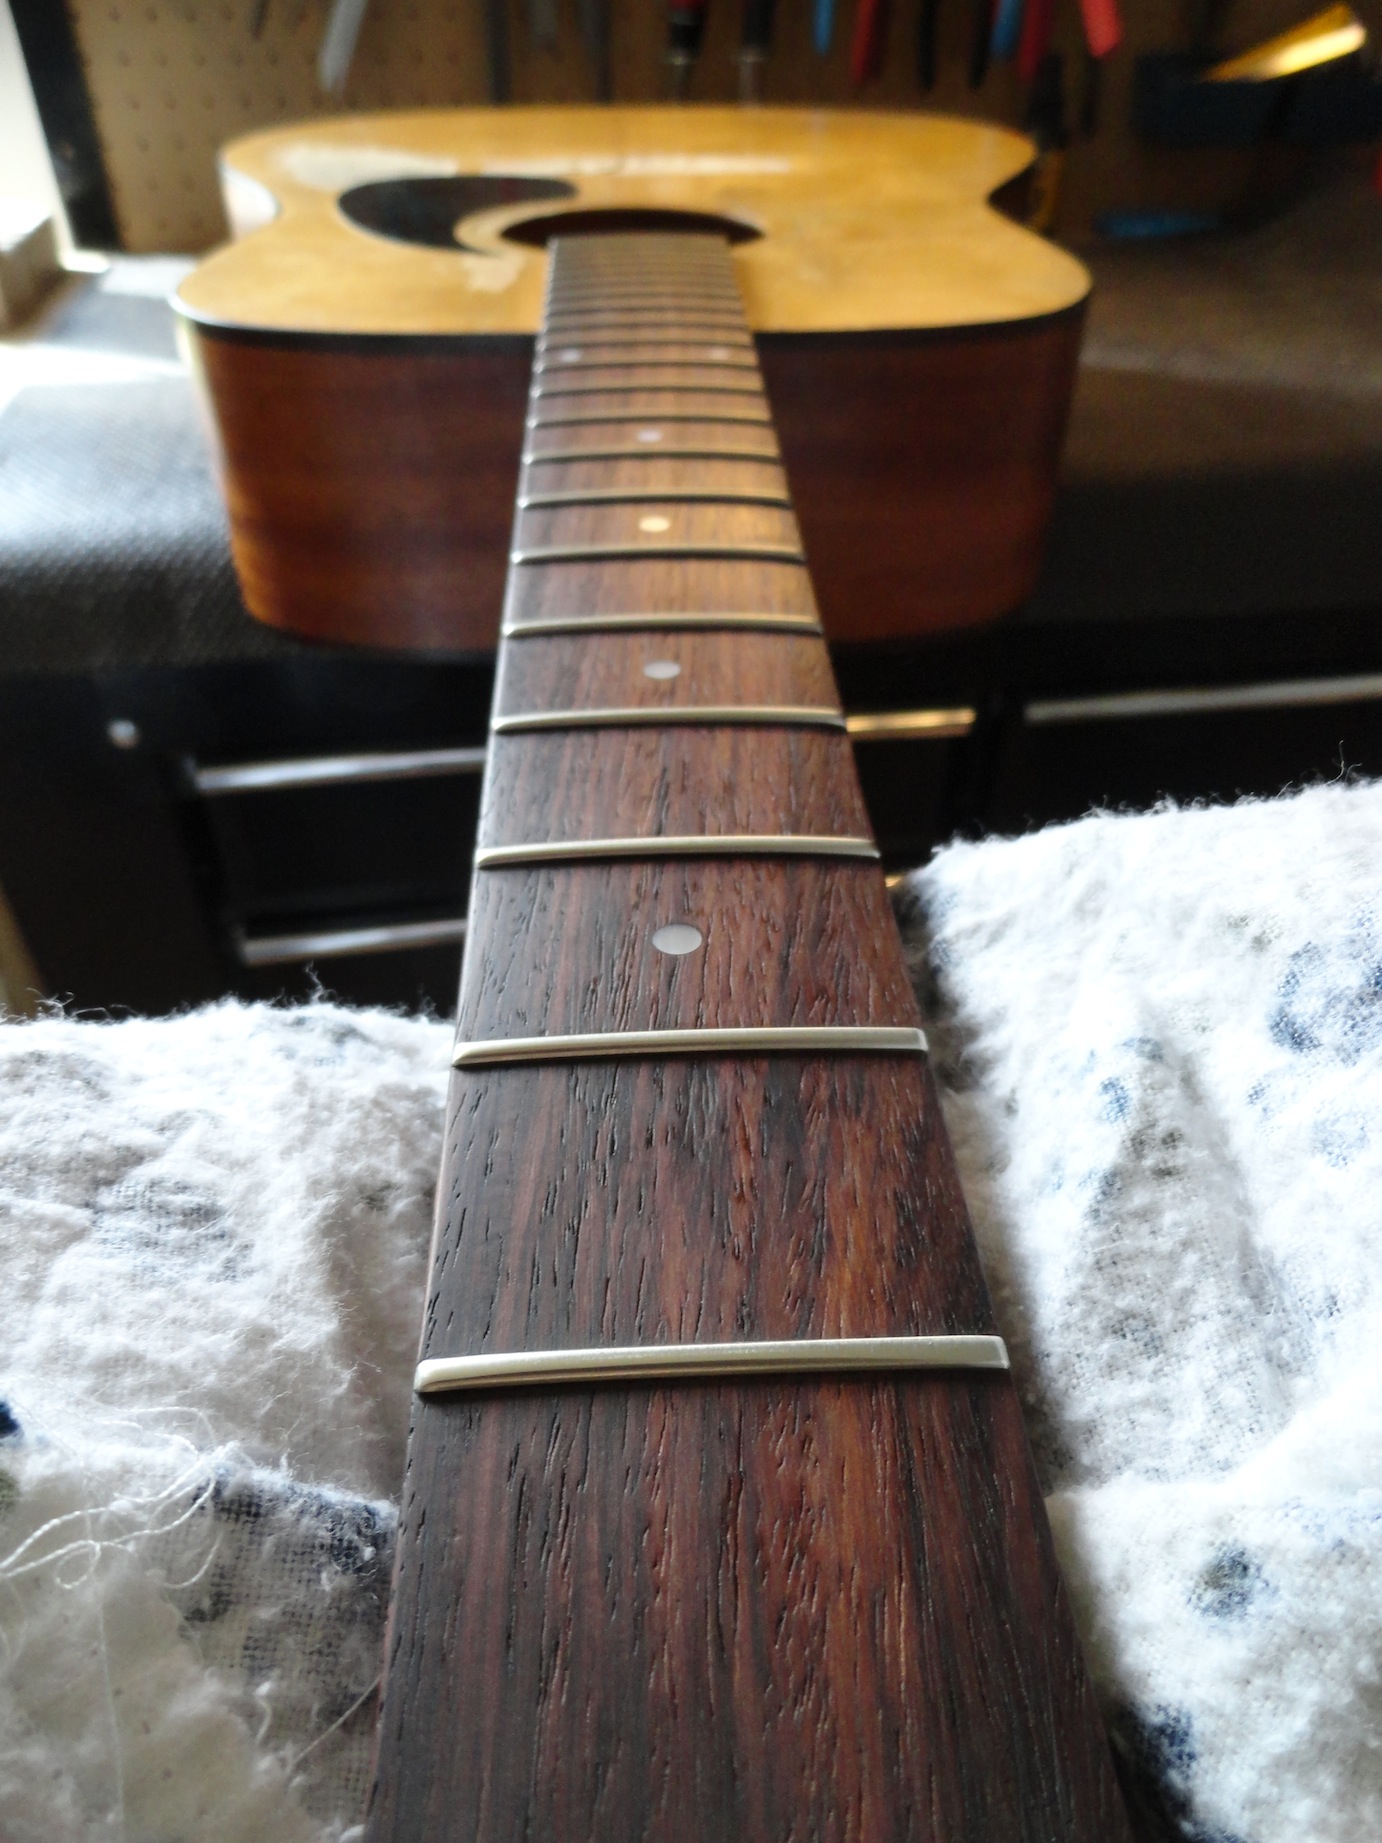
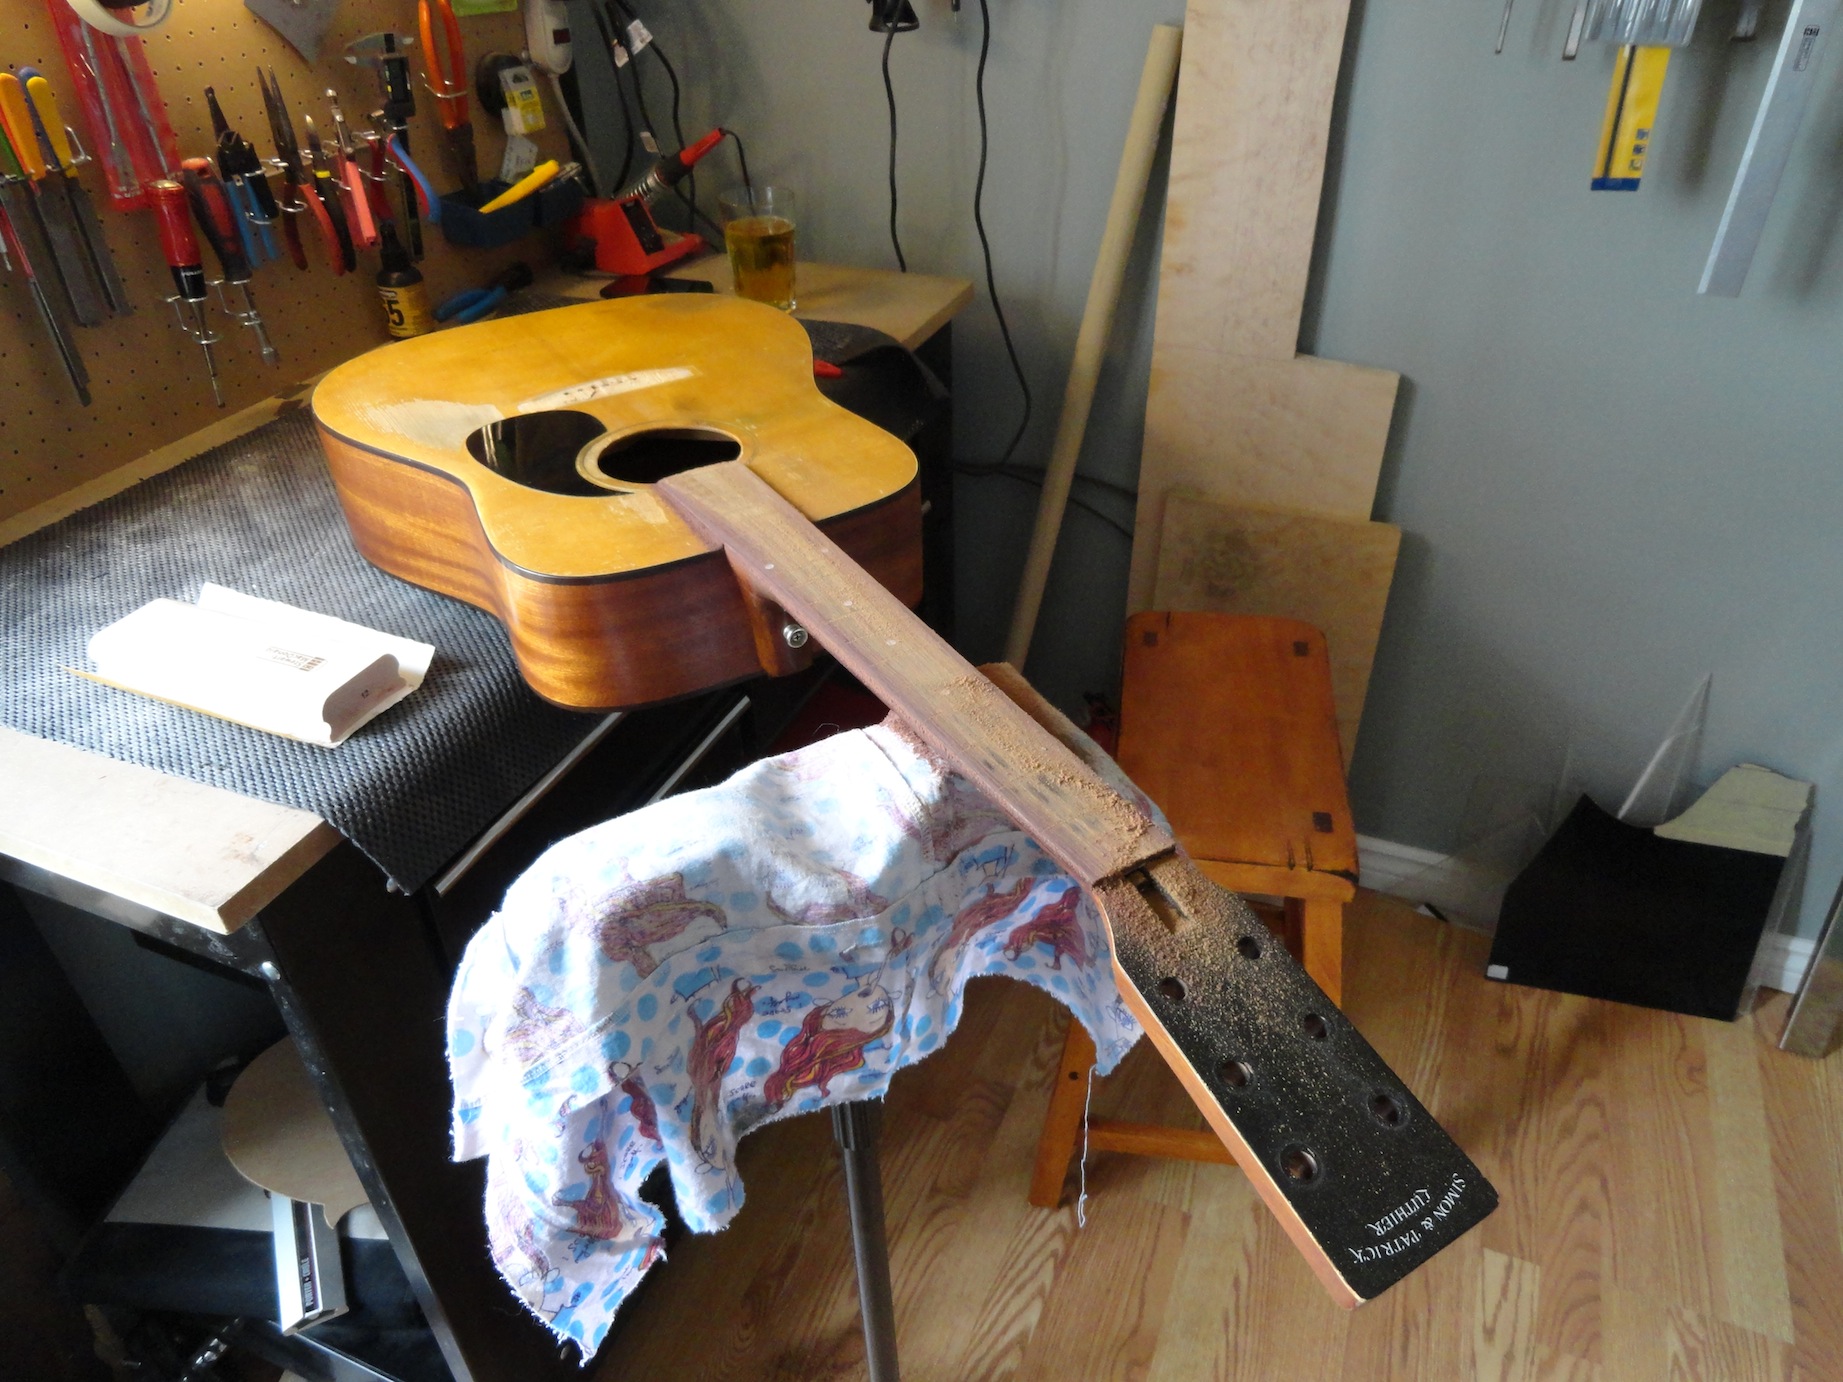 Here I was levelling the fingerboard. Wood moves over time and it's a good thing to make everything strait again.
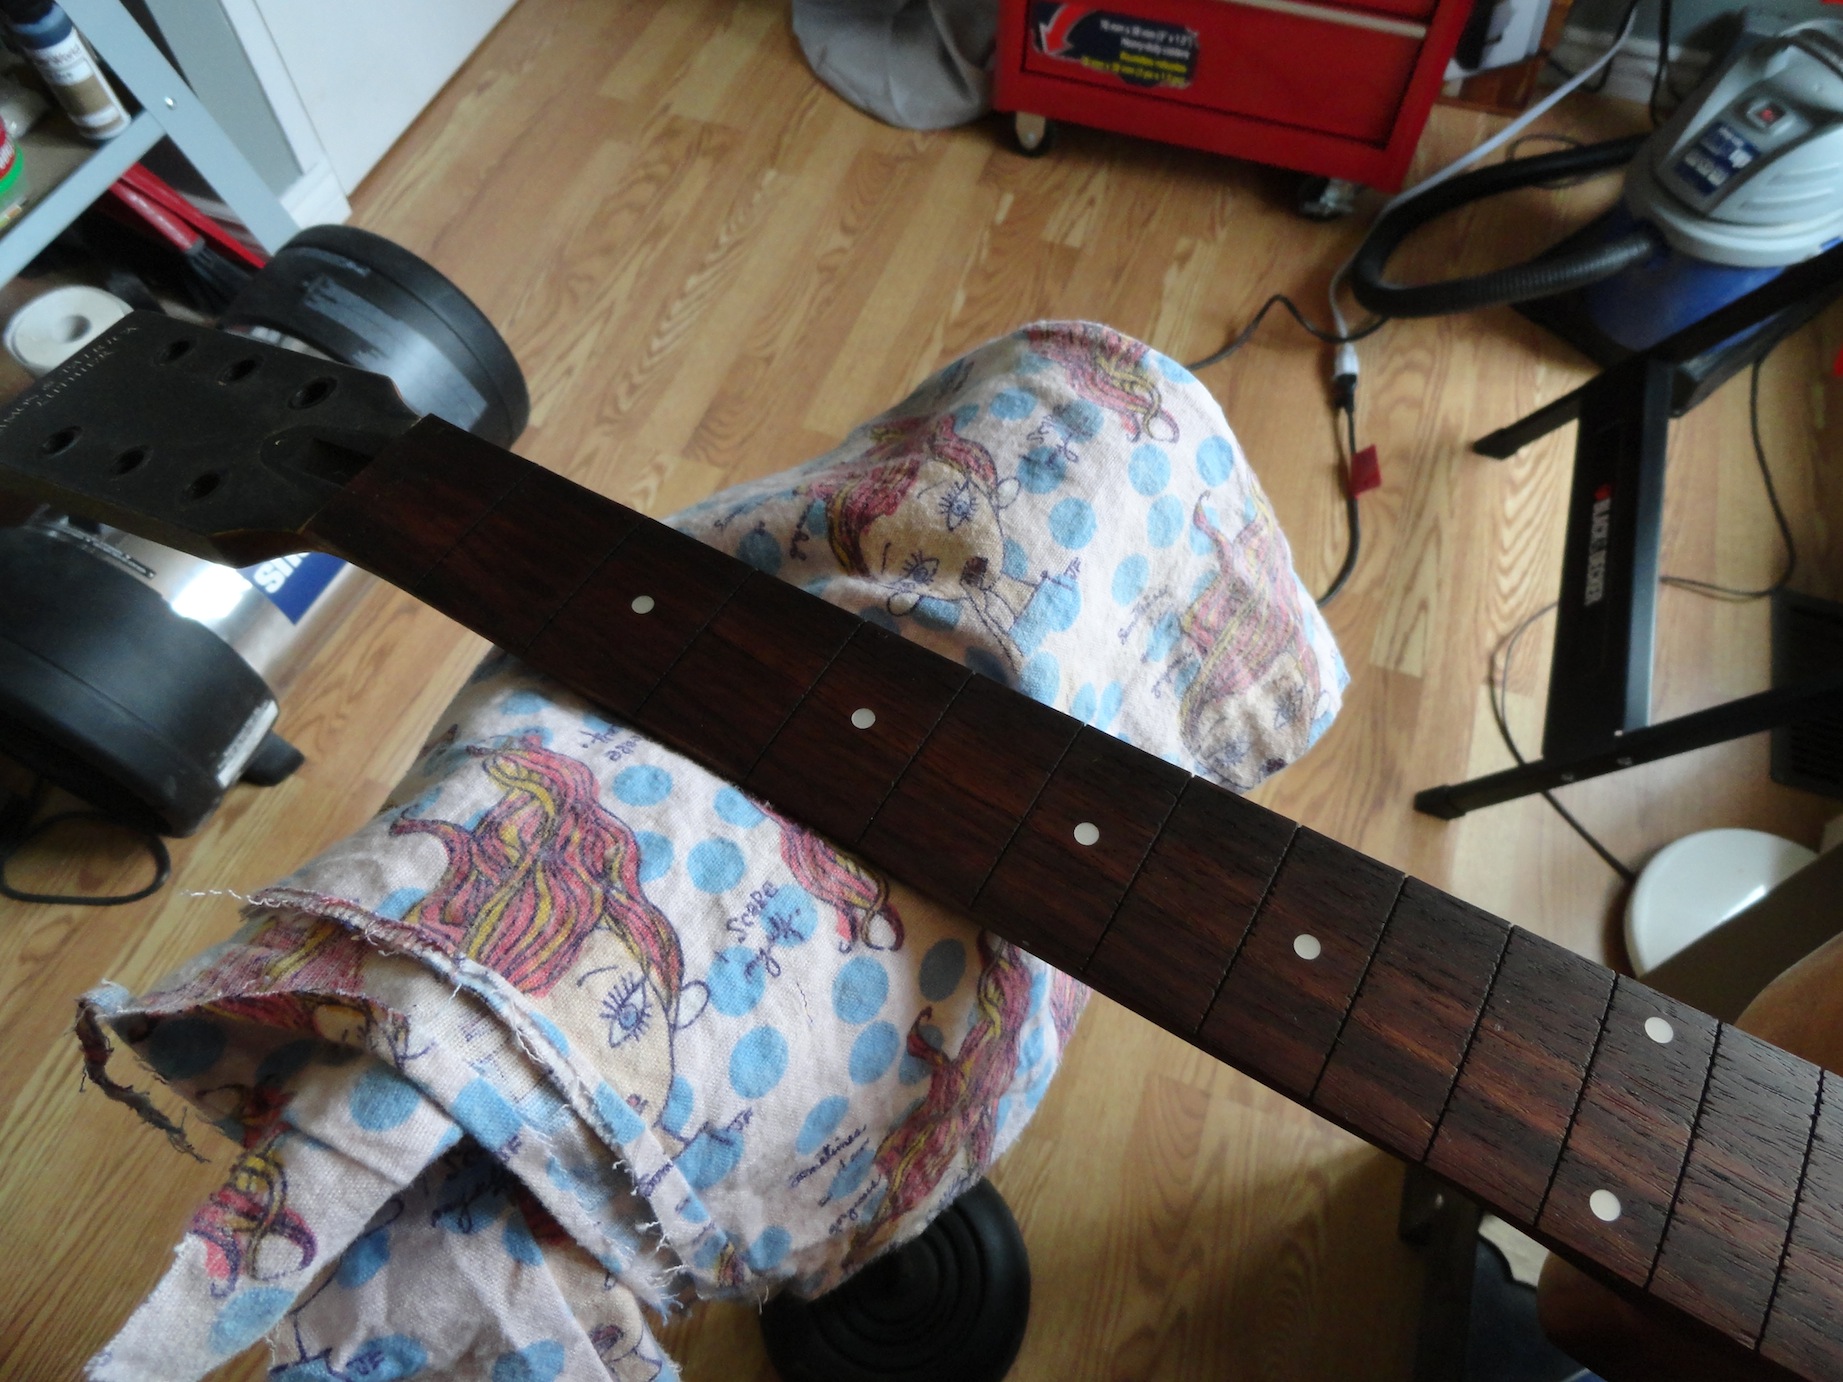 Once the fingerboard has been levelled and the slots cleaned, I can begin inserting and glueing in the frets.
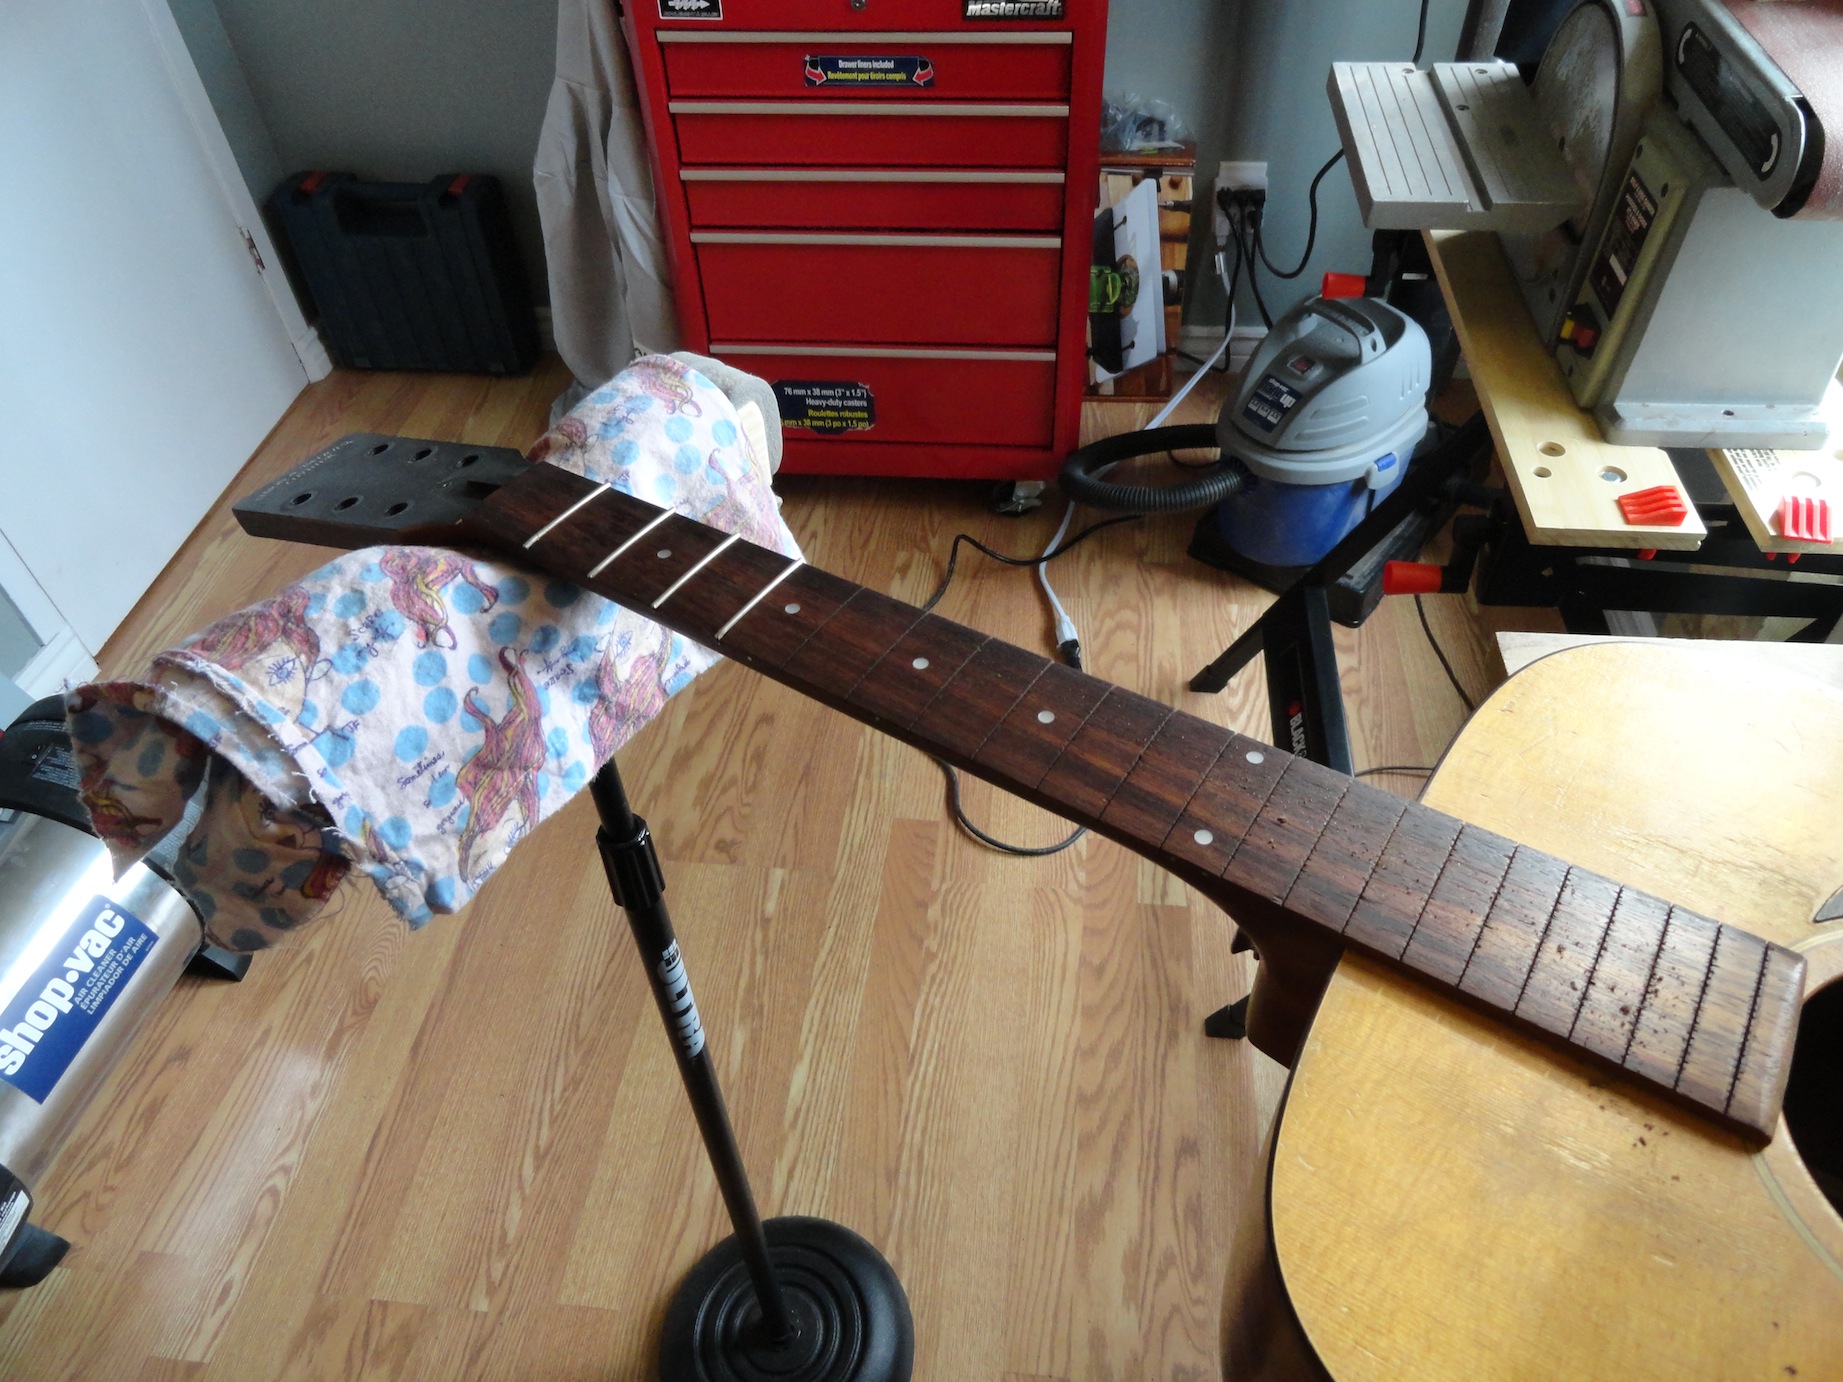 20 frets. all hammered in and glued with super glue, one by one.
- Details
- Hits: 10769
Re-Glueing an acoustic guitar bridge:
My friend Jimmy has had this acoustic guitar for longer than he can remember, and it has worked hard. It's currently in the shop for headstock repair, re-fretting, bridge repair and brace repair.
Today I started work on the bridge, which was lifting off the top on the treble side. I thought I would share some insight on manufacturing with you, since we are taking an acoustic apart. In order to fix a bridge that is coming unglued, it must first be removed, then the glueing surfaces prepared and then re-installed. By drilling two pilot holes in the saddle slot, you can assure proper realignment when glueing the bridge back on.
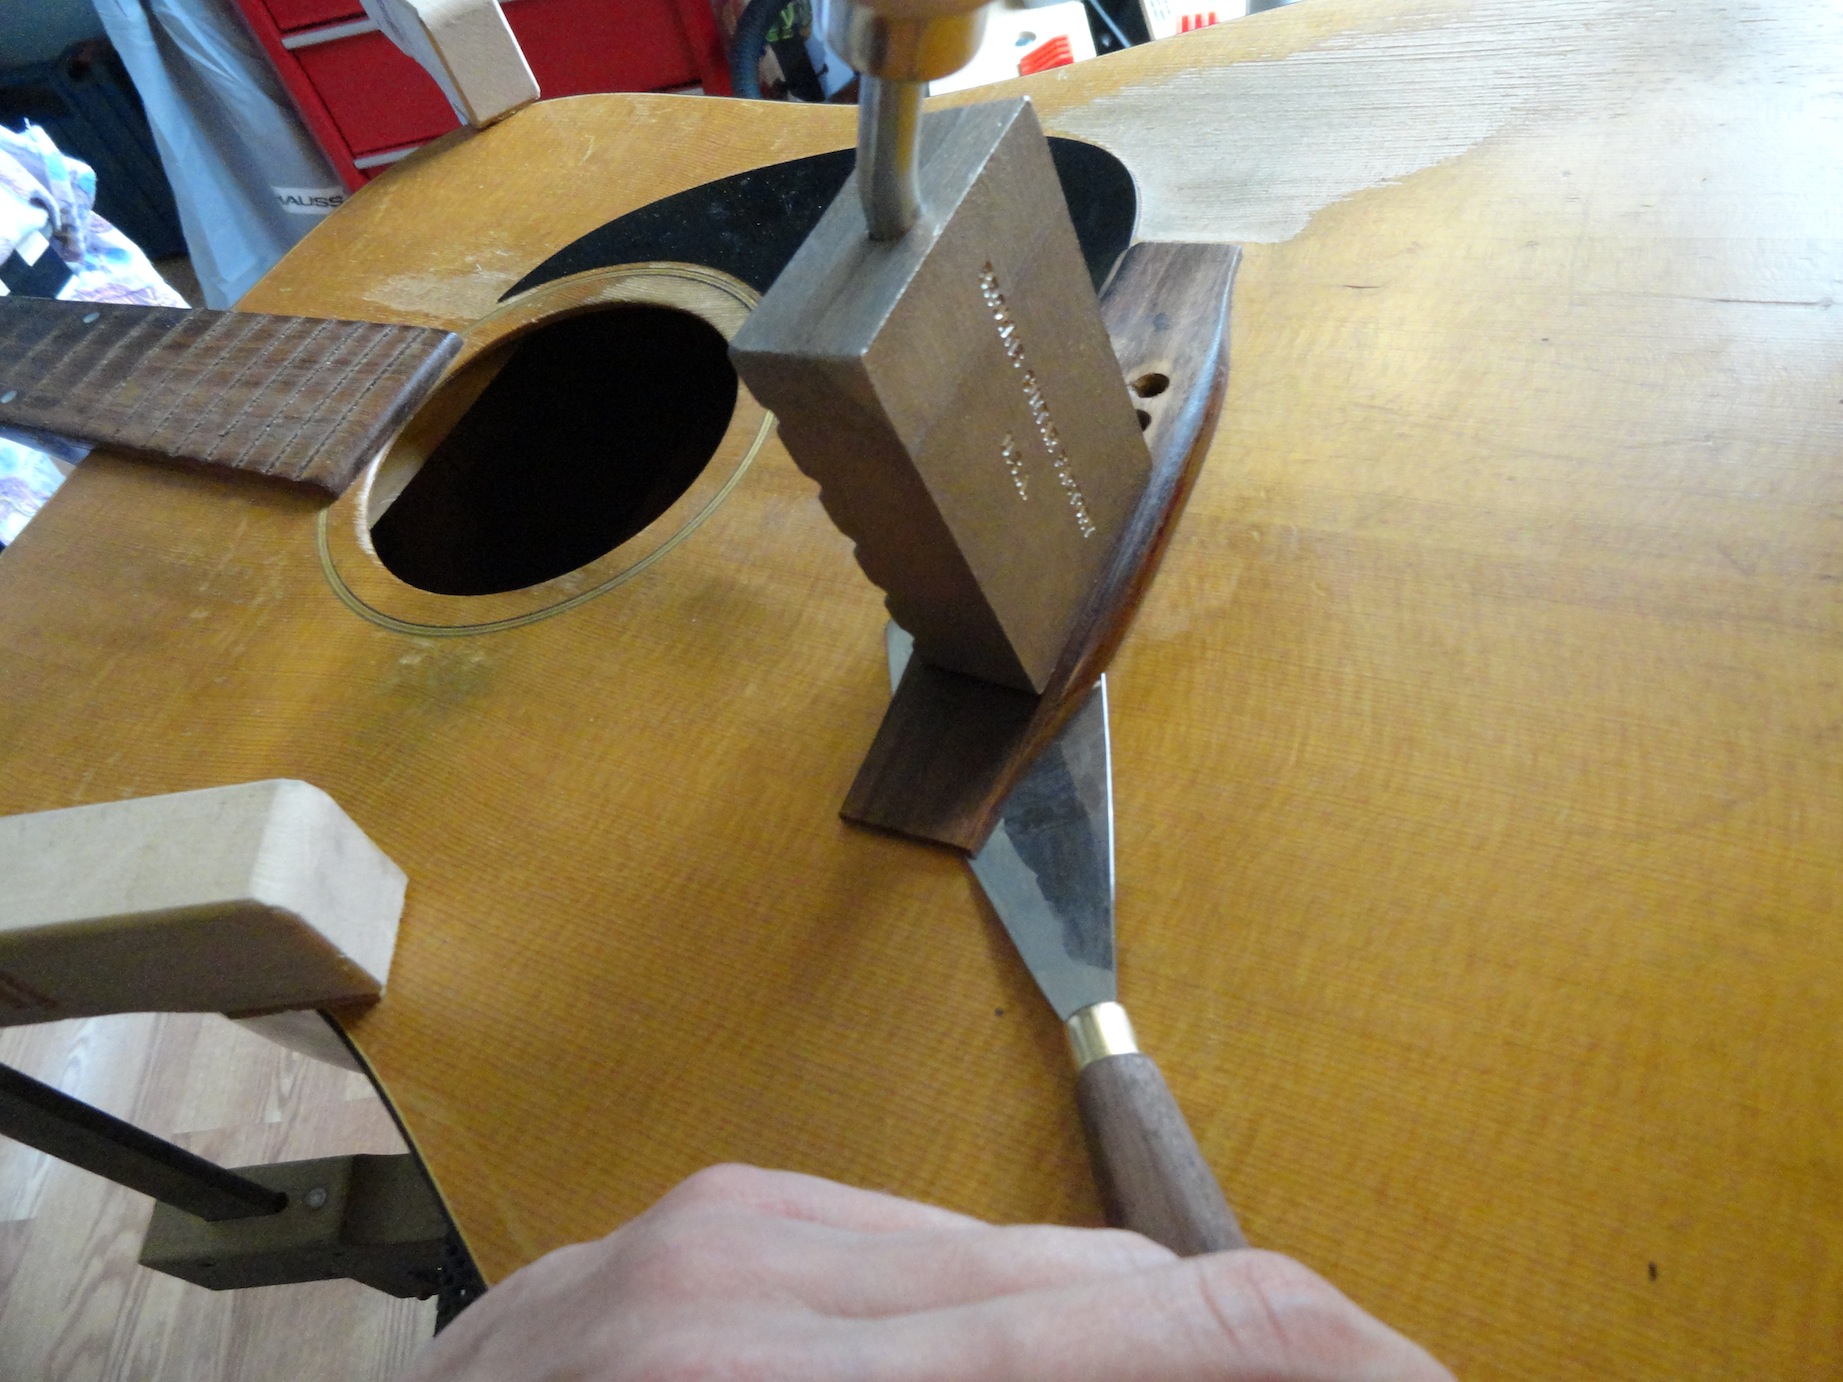
When you're making an acoustic guitar, in production, or one at a time. The top receives its finish before the bridge is glued to it. The glueing surface for the bridge is masked off, so that the bridge can be installed once the finish is dry.
On a production line, a lot of minor details slip. You can see from the pictures below, the glueing area that is void of finish is quite a bit smaller than the bridge its self. I would say that as much as 20% of the glueing surface is covered in finish. This partially explains why the bridge was coming undone. Of course, this guitar gets strung with 13's, so the bridge would eventually need to be re-glued anyway. I will be extending the glueing area by sanding the finish away where it is no longer needed.
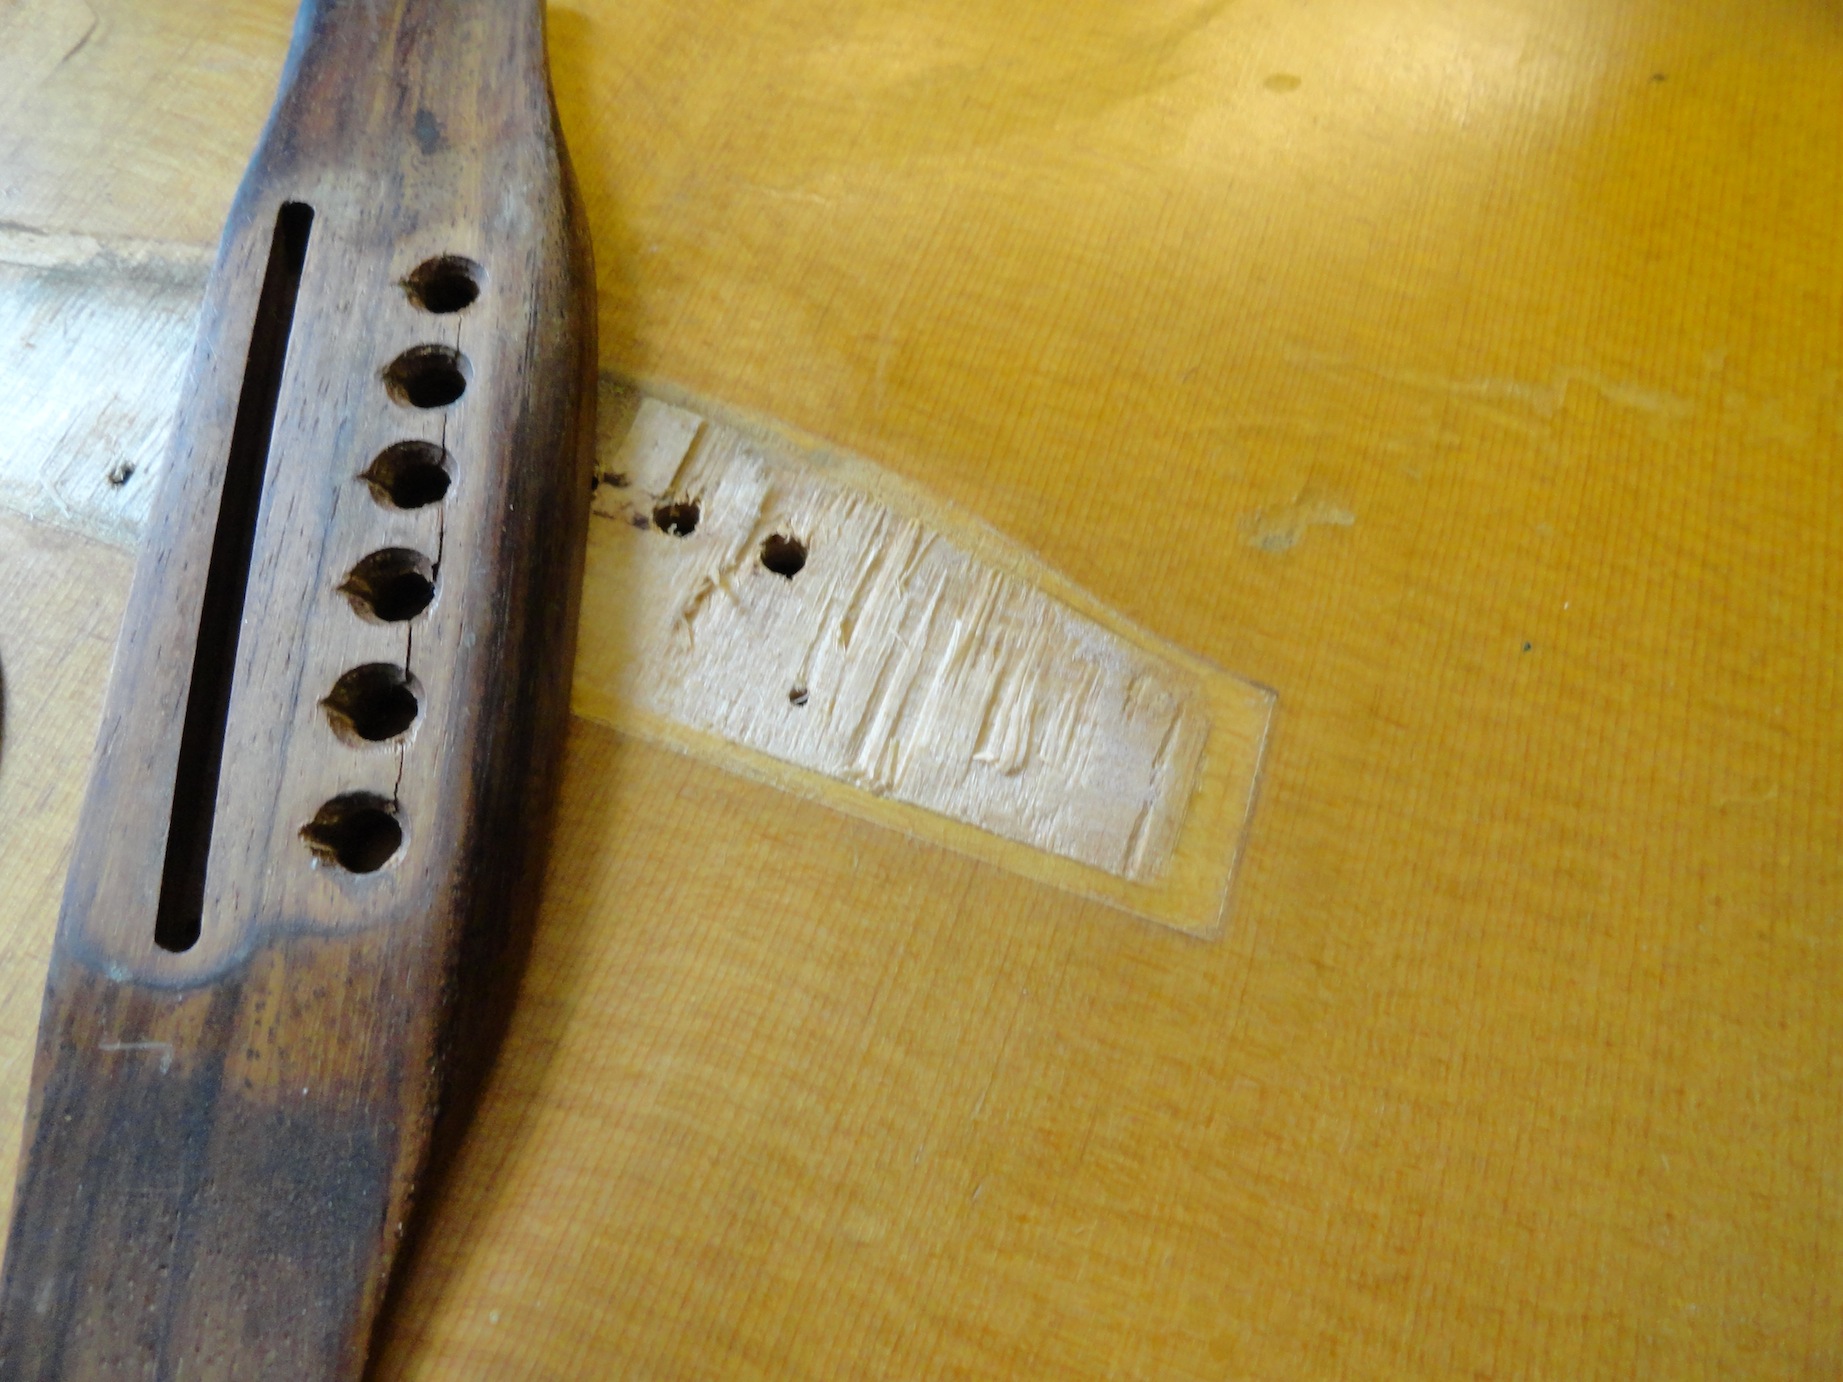
Keep following the repairs if you want to see more!
Page 5 of 5

