- Details
- Hits: 10705
Until the day when Gibson rethinks their headstock design, they will be prone to breaking. Because of truss rod's position, the pronounced headstock angle and the lack of a volute, a gibson headstock is litterally hanging on by a thread. The Les Paul studio I had in the shop this week was nocked off it's stand by the owners dog. It fell on it's face. Most guitars would not have any structural damage is this were to happen. But.... Gibson
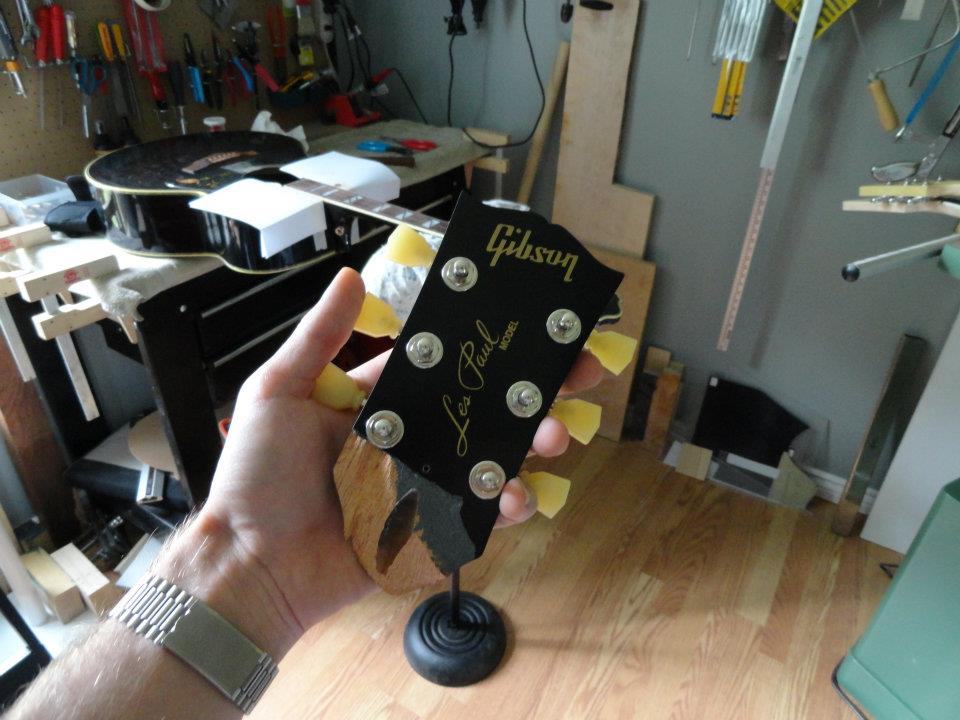
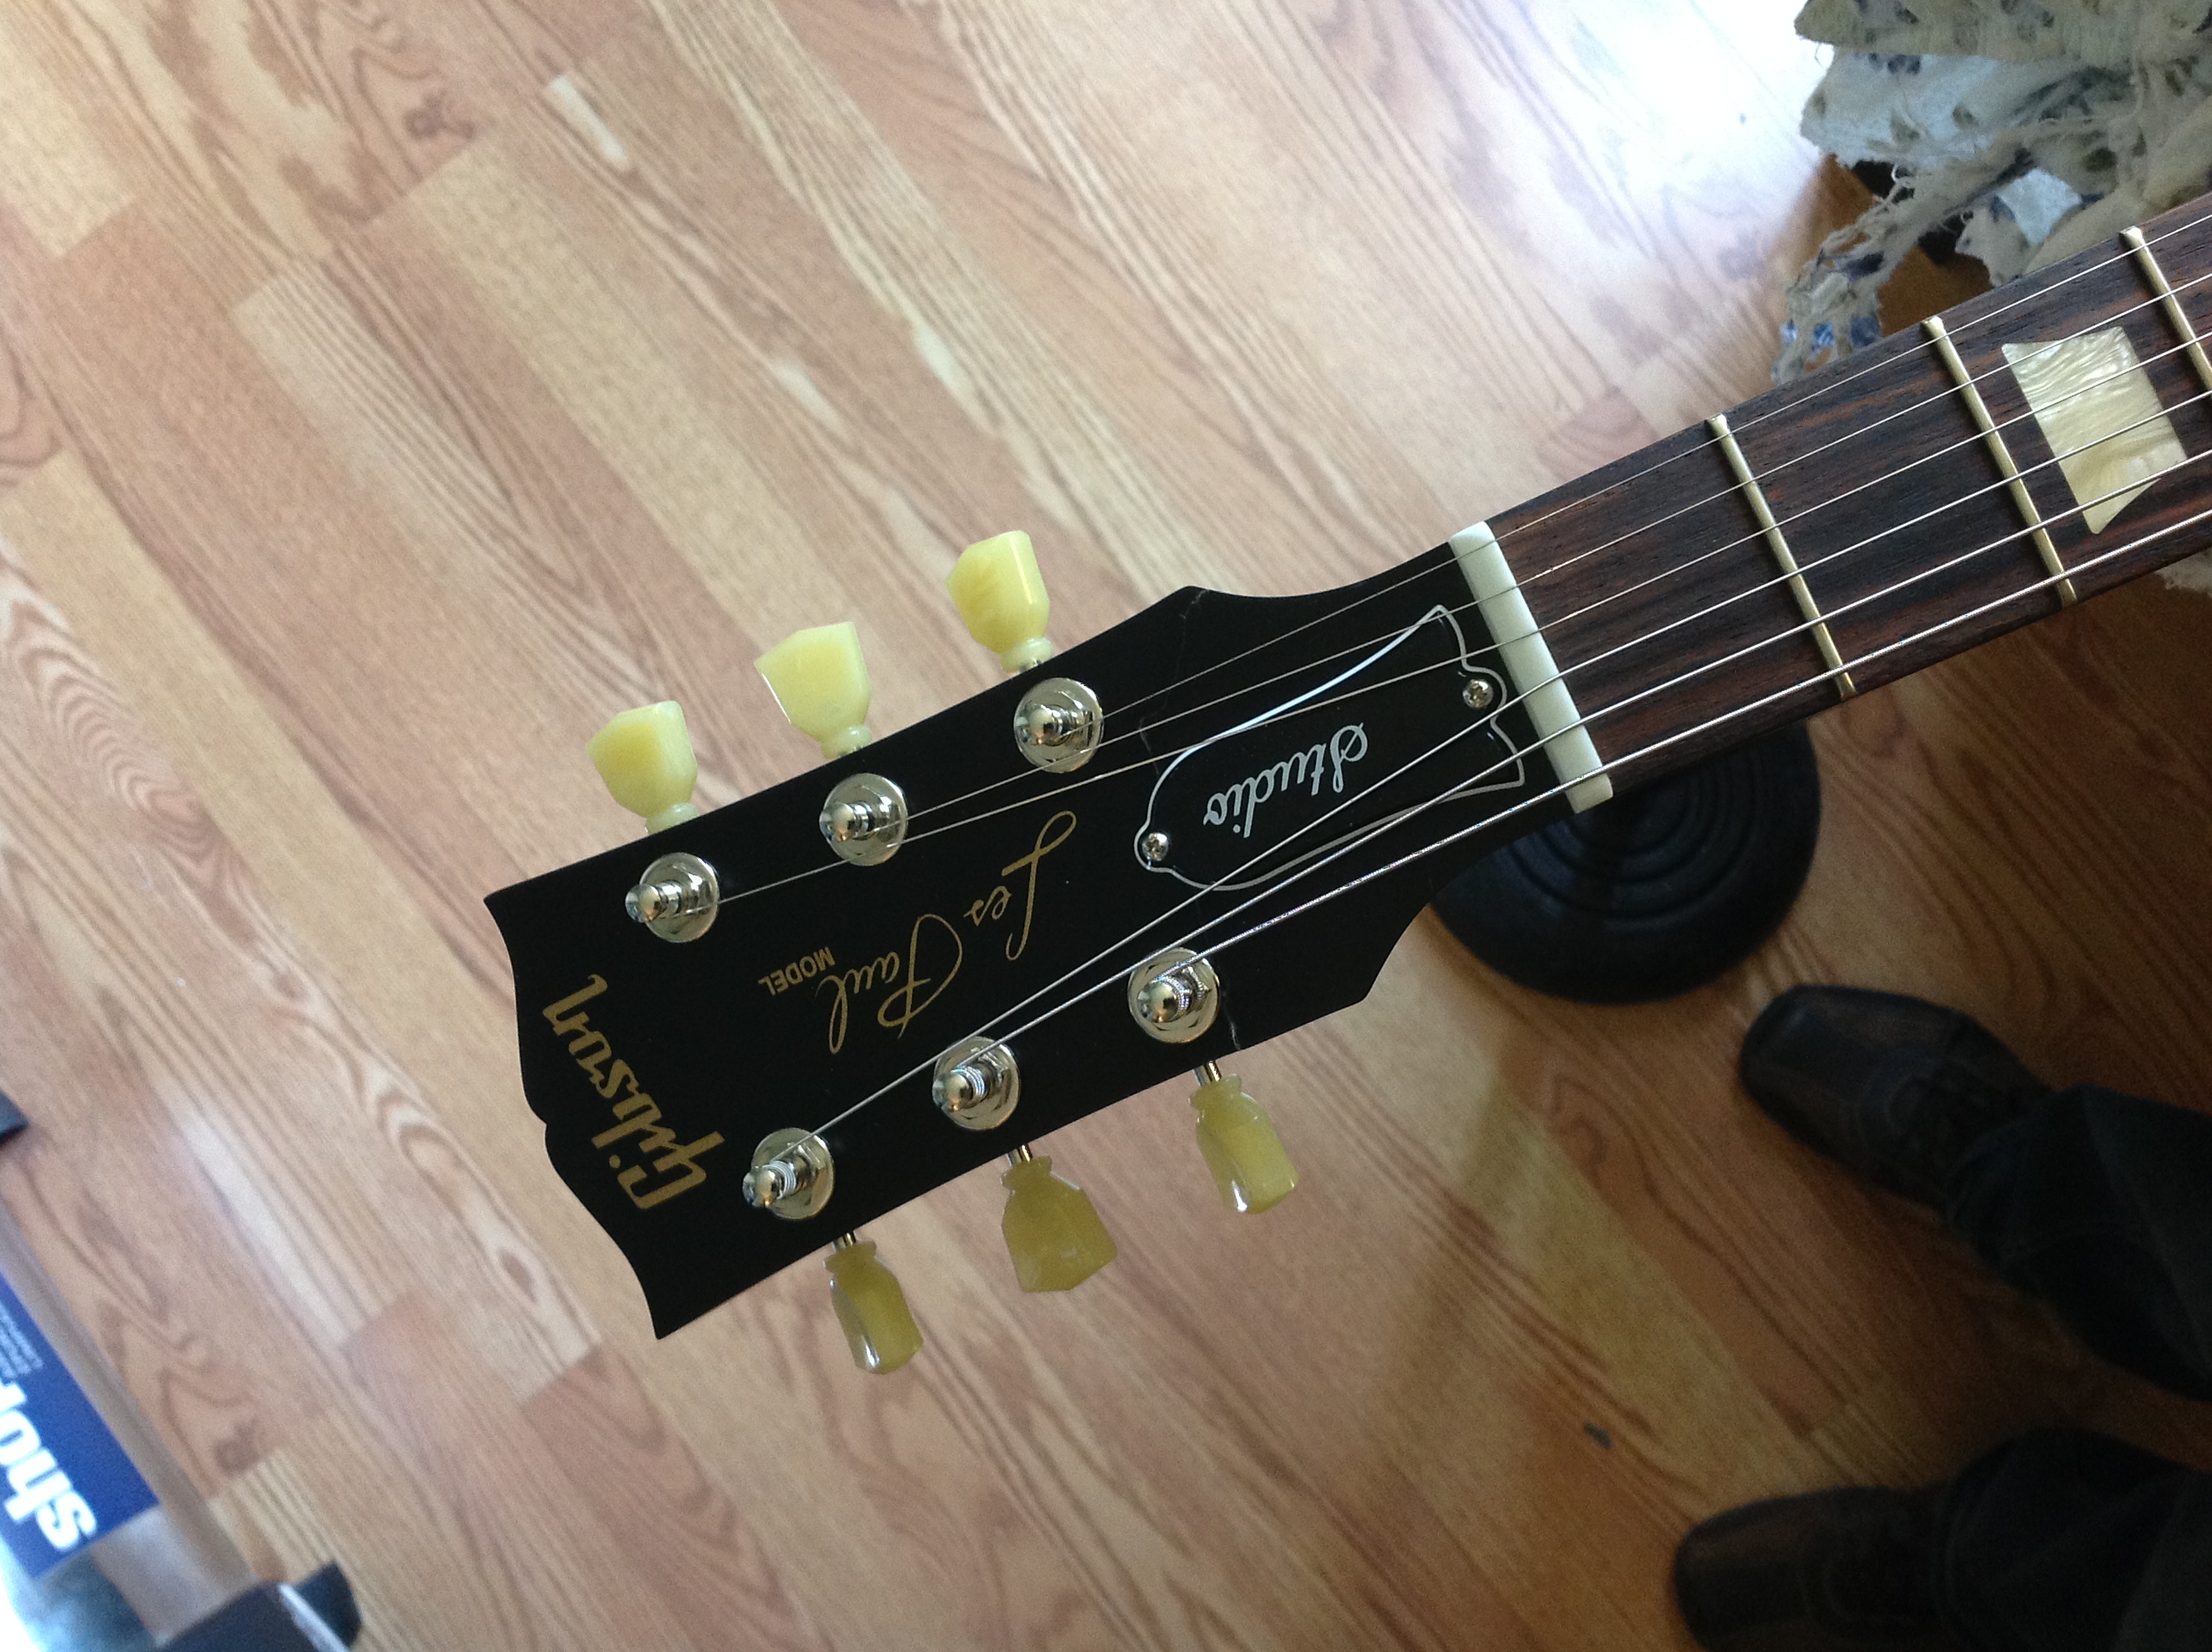
I had to cut some of the splinters off, because they had bent and wouldn't allow the headstock to go back together. Once that was done, I glued it back in and sealed the crack with cyanoacrylates. The owner couldn't invest in a finish repair, but the crack could be completely erased with the clever use of a spray gun.
- Details
- Hits: 11632
Broken truss rod on a 1969 Gibson EBO-L
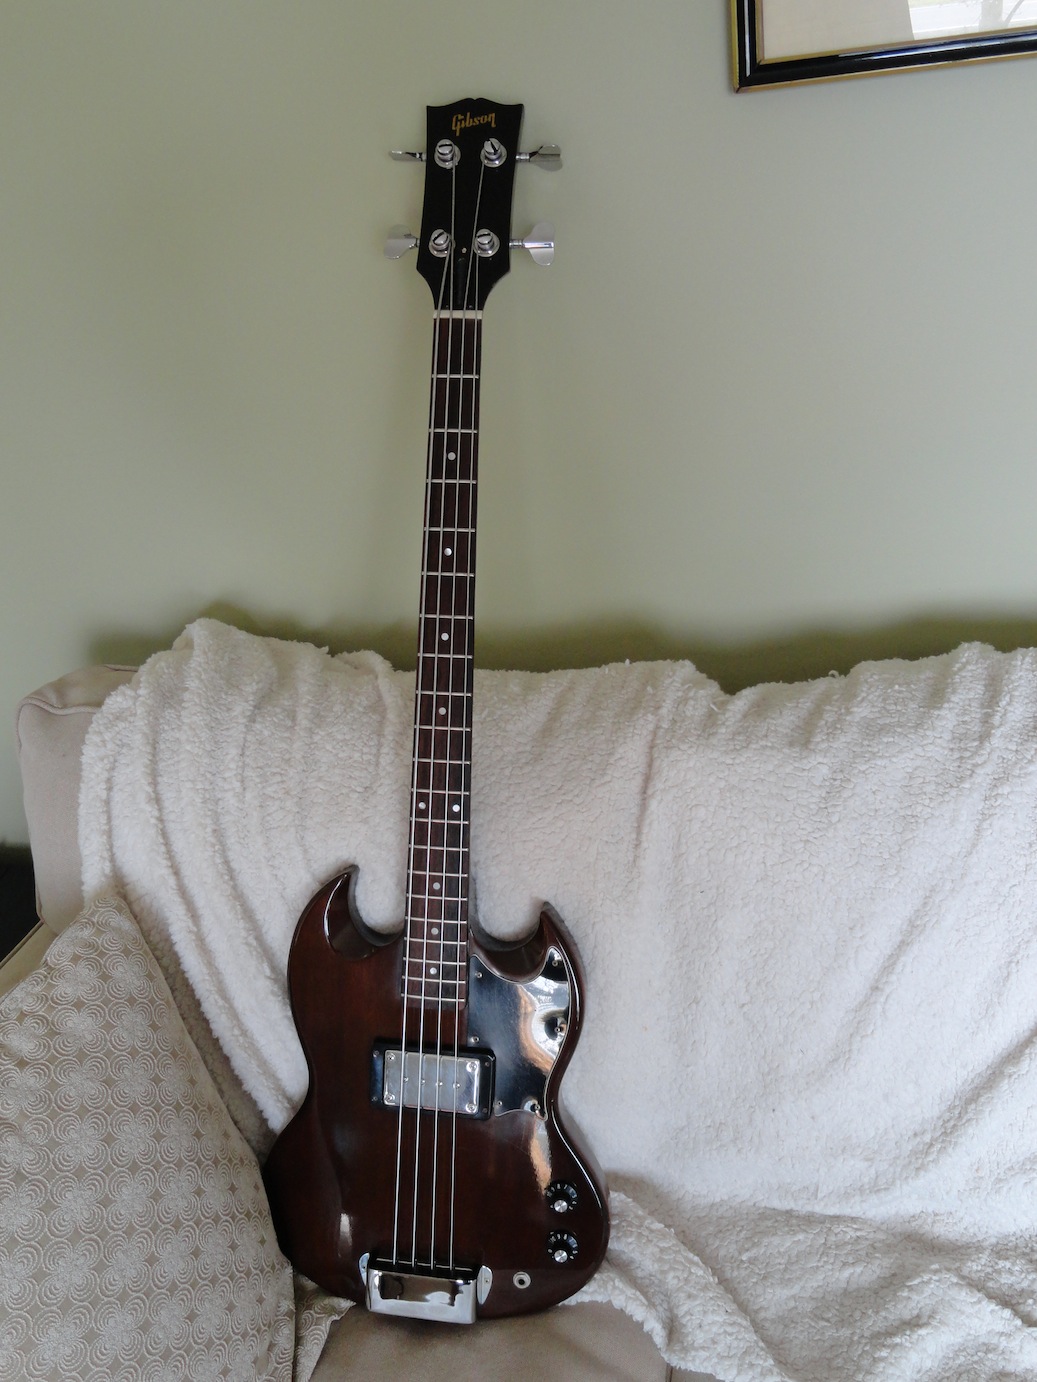
Well, this is not a common instrument, and it was handed to me with a very uncommon problem. The Gibson EBO's had all the caracteristics of a good instrument, except one: The bridge assembly. The bridges on EBO's would flex over the years, this 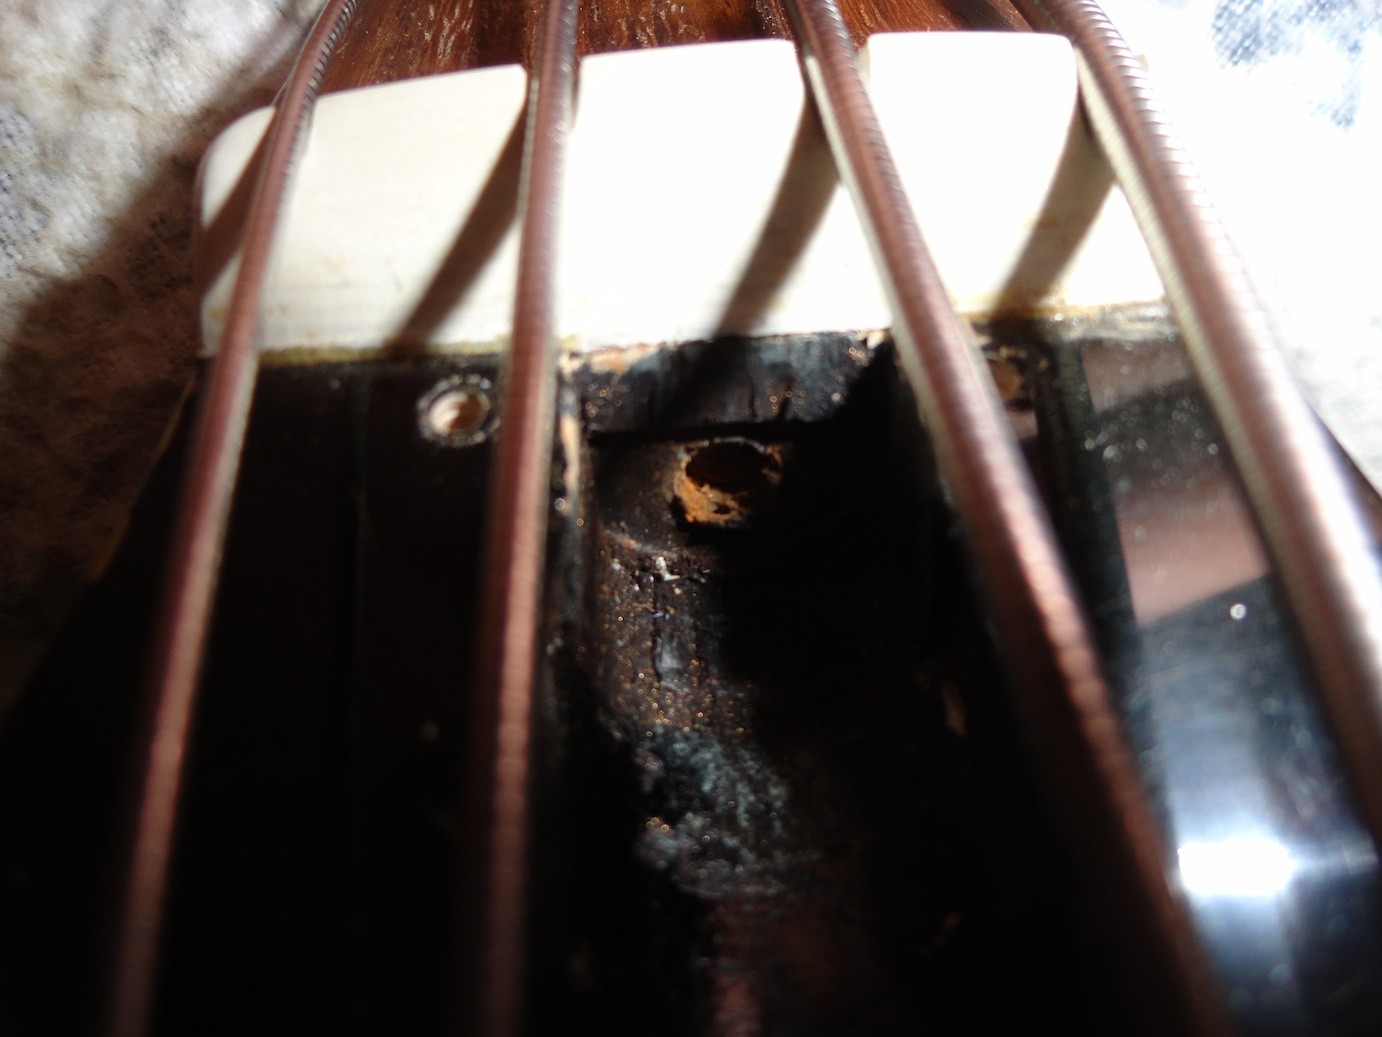 generated improper radiuses, intonation problems, action problems and buzzing problem, pretty much everything you want to avoid on an instrument. When you couple these problems with the common misconception that an instrument's action can be adjusted by the truss rod, bad things can happen. So, for the record, the truss rod must NEVER be used to adjust the action. Adjustin the flex in the neck of an instrument will, inevitably, have an impact on the action, but that's not what the truss rod is for. The truss rod must only me used to adjust the relief in the neck, nothing else.
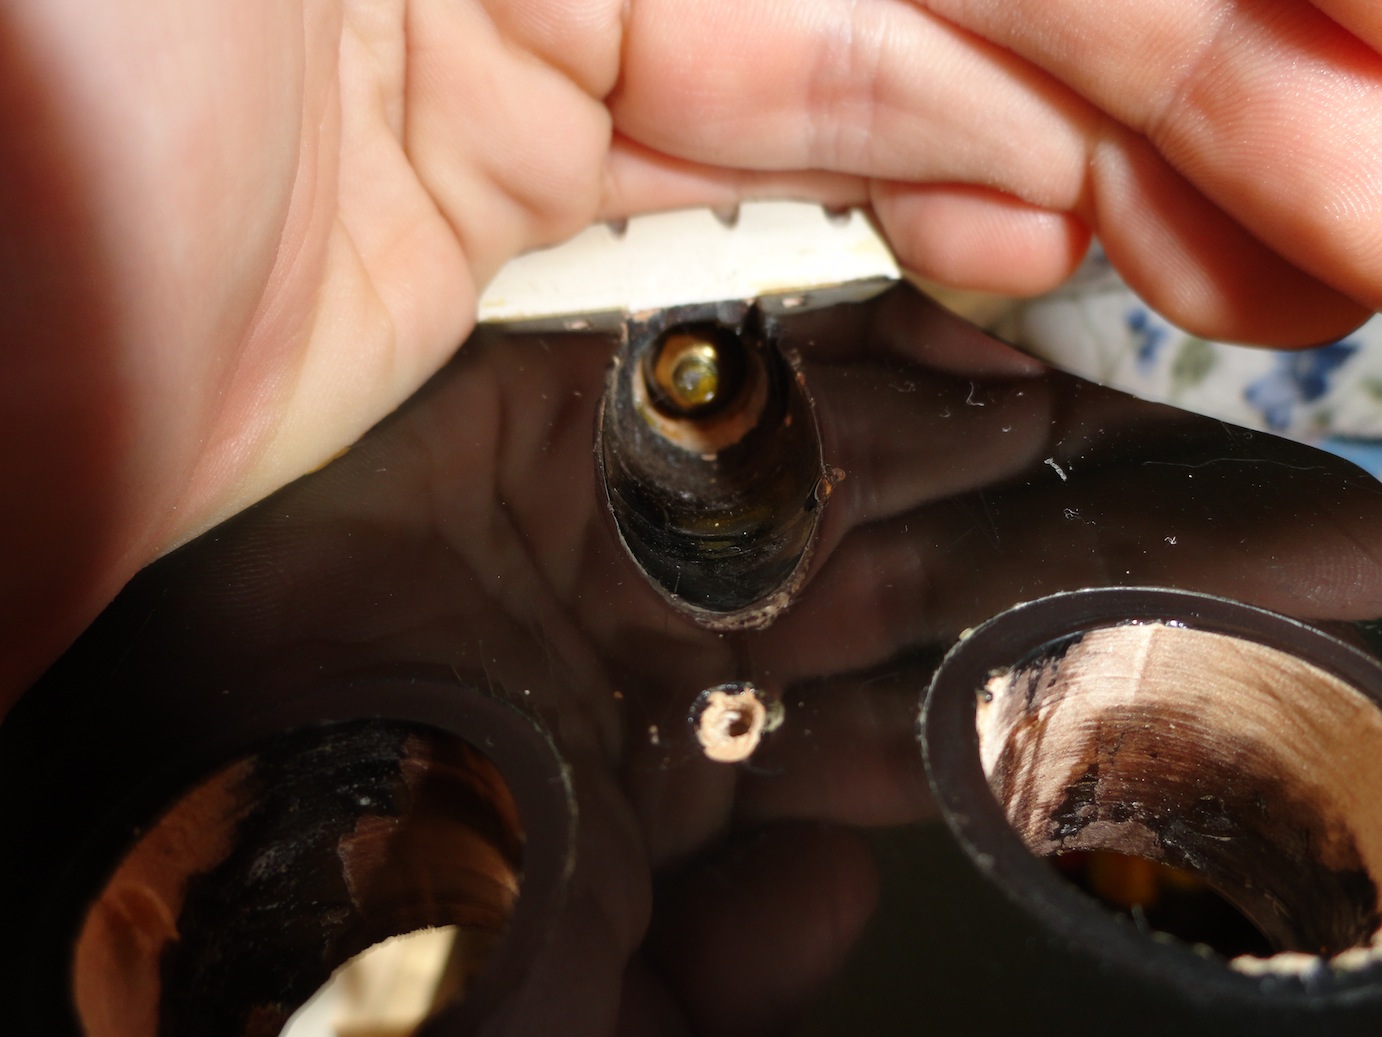
Now, the owner of this bass had all the aforementioned problems with the bridge, and he decided to lower the action by tightening the truss rod. He tigntened and tightened until, all of a sudden, SNAP! The hex nut and the truss rod broke clean off, as you can see in the picture. This type of break is rare, but this is a 1969 Gibson, and fixing it is worth the expense.
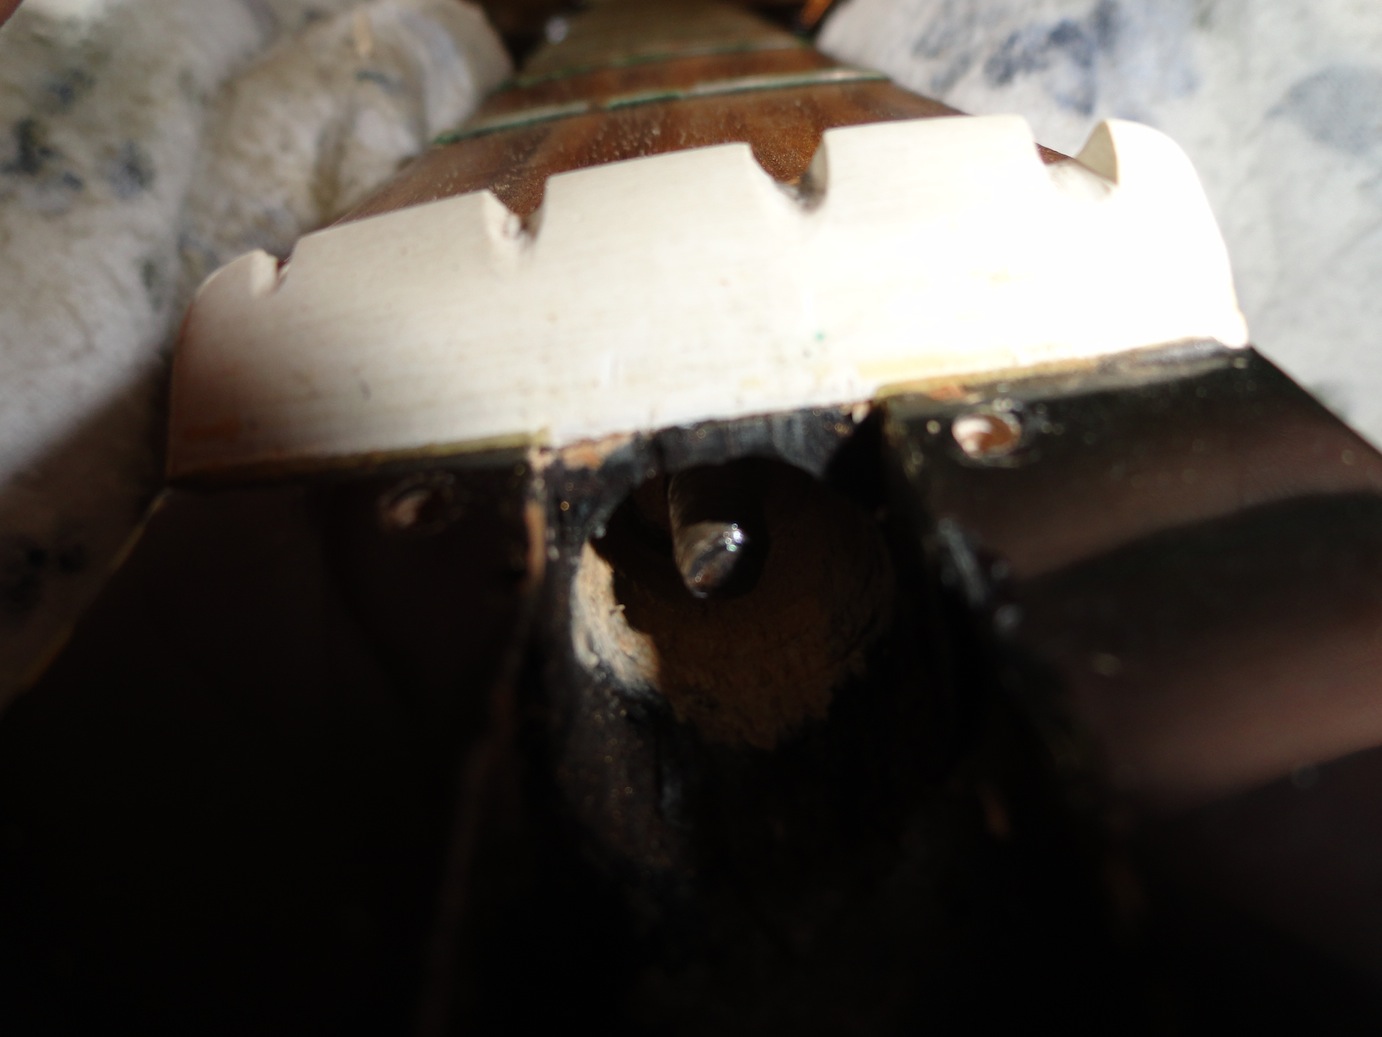 In order to make this truss rod functional again, I have to free up space in the neck, under the fingerboard, thread the newly found rod material, install a stopper, or spacer, grease the threads and install a new Hex nut. All this has to be done without damaging the finish. So, this is not the easiest of jobs. But I did it. All went well. It took about 2 hours to clean up the maple around the rod. I had to be very careful because, if I accidently nicked the rod, where would the new threads go?
- Details
- Hits: 8233
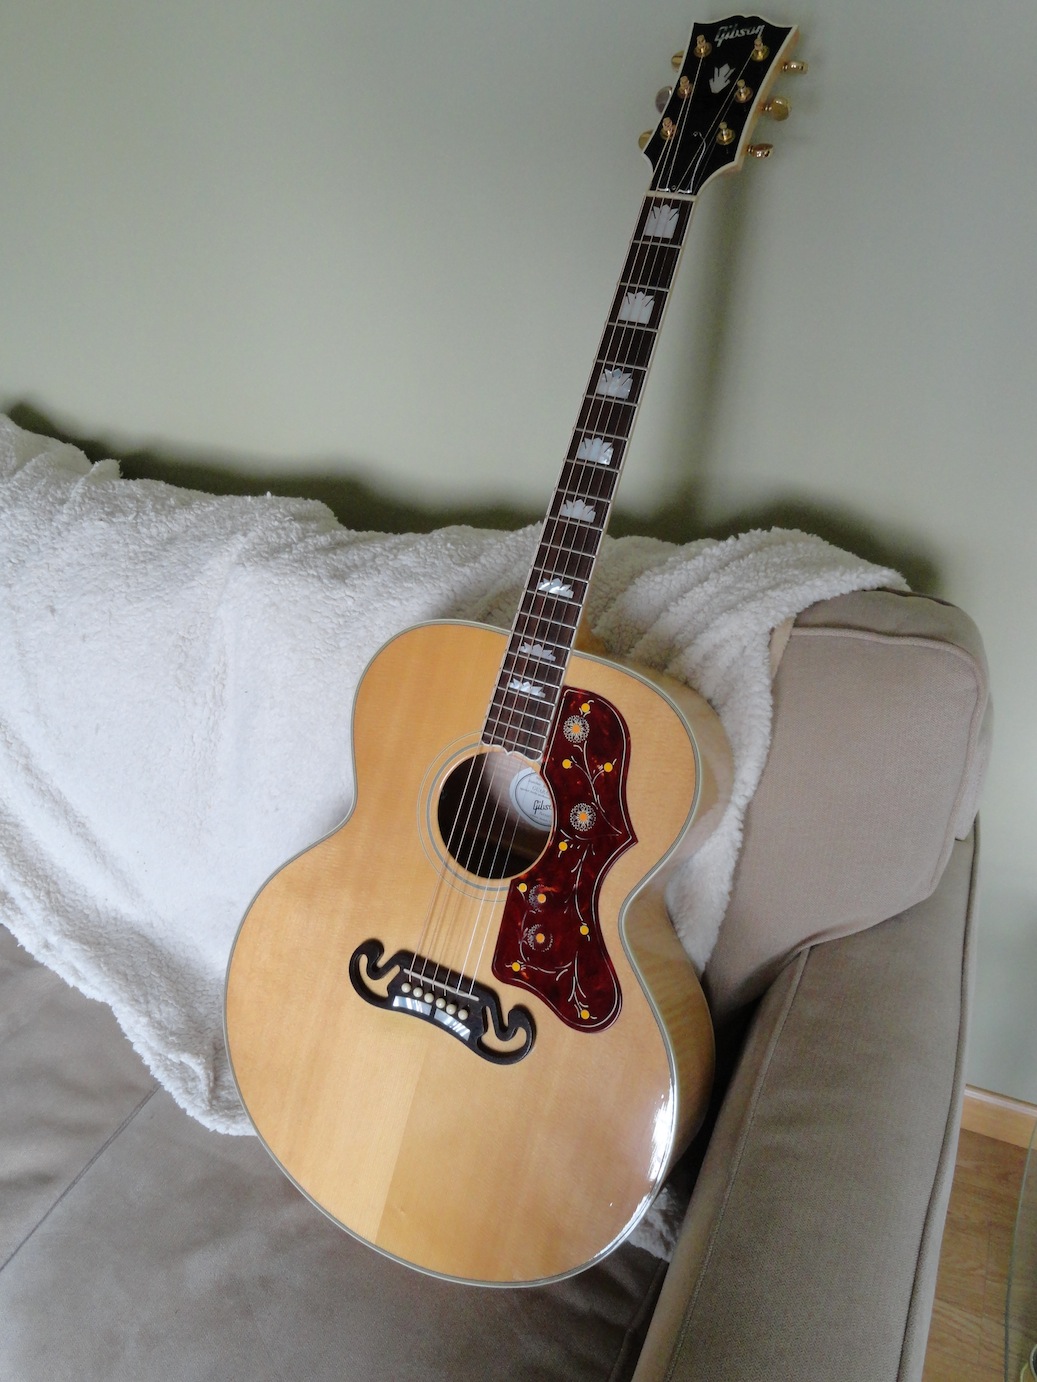
Gibson J-200
Hello everyone,
Well, it's been a Gibson kinda week. First, I had to to some fretwork and a setup on a 2007 Gibson J-200, and then, I had to fix a broken truss rod on a 1969 Gison EBO-L. But lets start with the fabulous J-200. Her owner wanted the action lowered, and the frets were worn from 5 years of playing, so a fret job was in order.
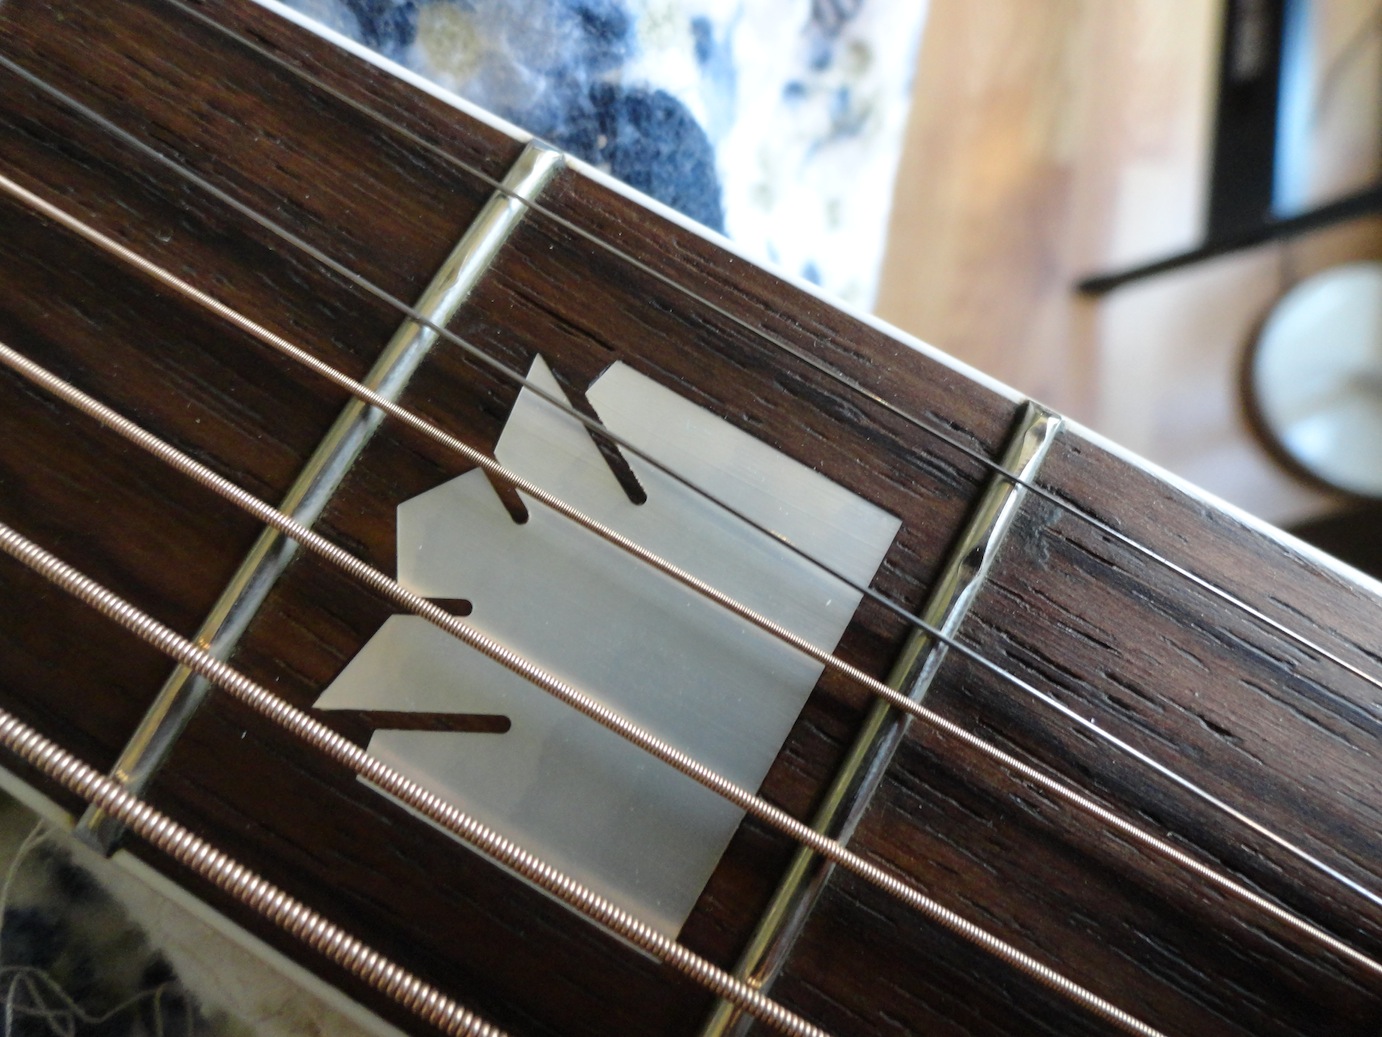 You can see in this picture the notches that the strings have made over time. This happens on all steel strung instruments, regardless of the make. You can slow down the rate of the wear by having stainless steel frets, but it will still happen, and the sound of the instrument will be greatly affected. Simply changing the fret size affects how a guitar sounds, so changing the
material is even more noticable.
Now, wood moves over time. It does settle at some point, but this instrument was made in 2007, and 5 years of string tension and weather variations have made it settle with a bit of an odd bow. Sometime, this can be fixed with a simple fret job, as it was in this case, and sometimes, you have to refret the instrument and level the fingerboard. Now, this is only necessary on rare occations. This Gibson did move a lot, and after 5 years, it can expected that it has now settled. The truss rod will still need to be adjusted once or twice a year, because this is Canada, and humidity varies greatly between winter and summer, mostly because of heating.
You can see from the pictures what I mean. Without any string tension, the truss rod would only make a string ridge between the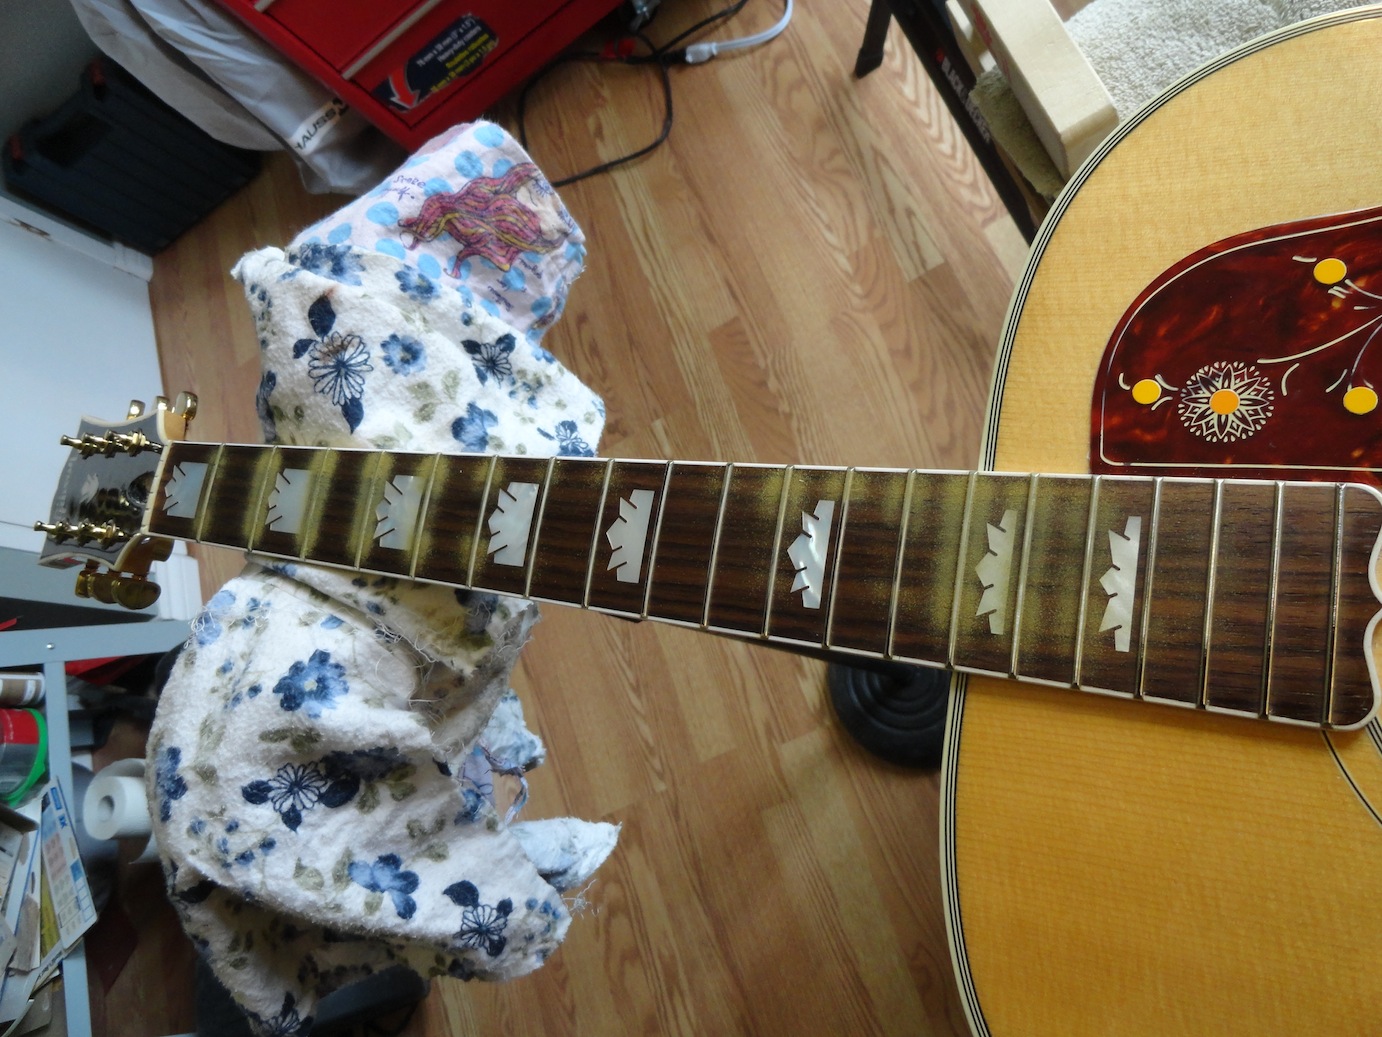 3rd and 7th fret. So, I had to place it in such a way that I would be touching a maximum of frets on the first pass with the straight edge. Notice how you can see that less material has been removed on the first and second frets after a few passes, and that no material has been removed between the 7th and 11th frets on the bass side of the fingerboard. In revision, this wasn't a difficult fret job, since I have done so many and have the experience required to do it right, even whan the neck isn't absolutely perfect. But this is the type of fob that a less experienced shop could have accidently botched.
Once that was done, the usual crowning and polishing was accomplished, followed by a precision setup. She is now ready to rock!
- Details
- Hits: 7026
Putting frets in
Today, I got the fretwork done on one of my electric mandolins. The playing surface is, in my opinion, the most important part of an instrument. No matter how pretty your bodywork is, and how good your finish is. If your playing surface isn't perfect, the instrument won't be as much fun to play as it should be.
I always install bound fingerboards on my instruments. They are a bit more work, but the esthetics are worth it. The binding is installed before the fingerboard is glued to the neck, and the fretwork is more time consuming. 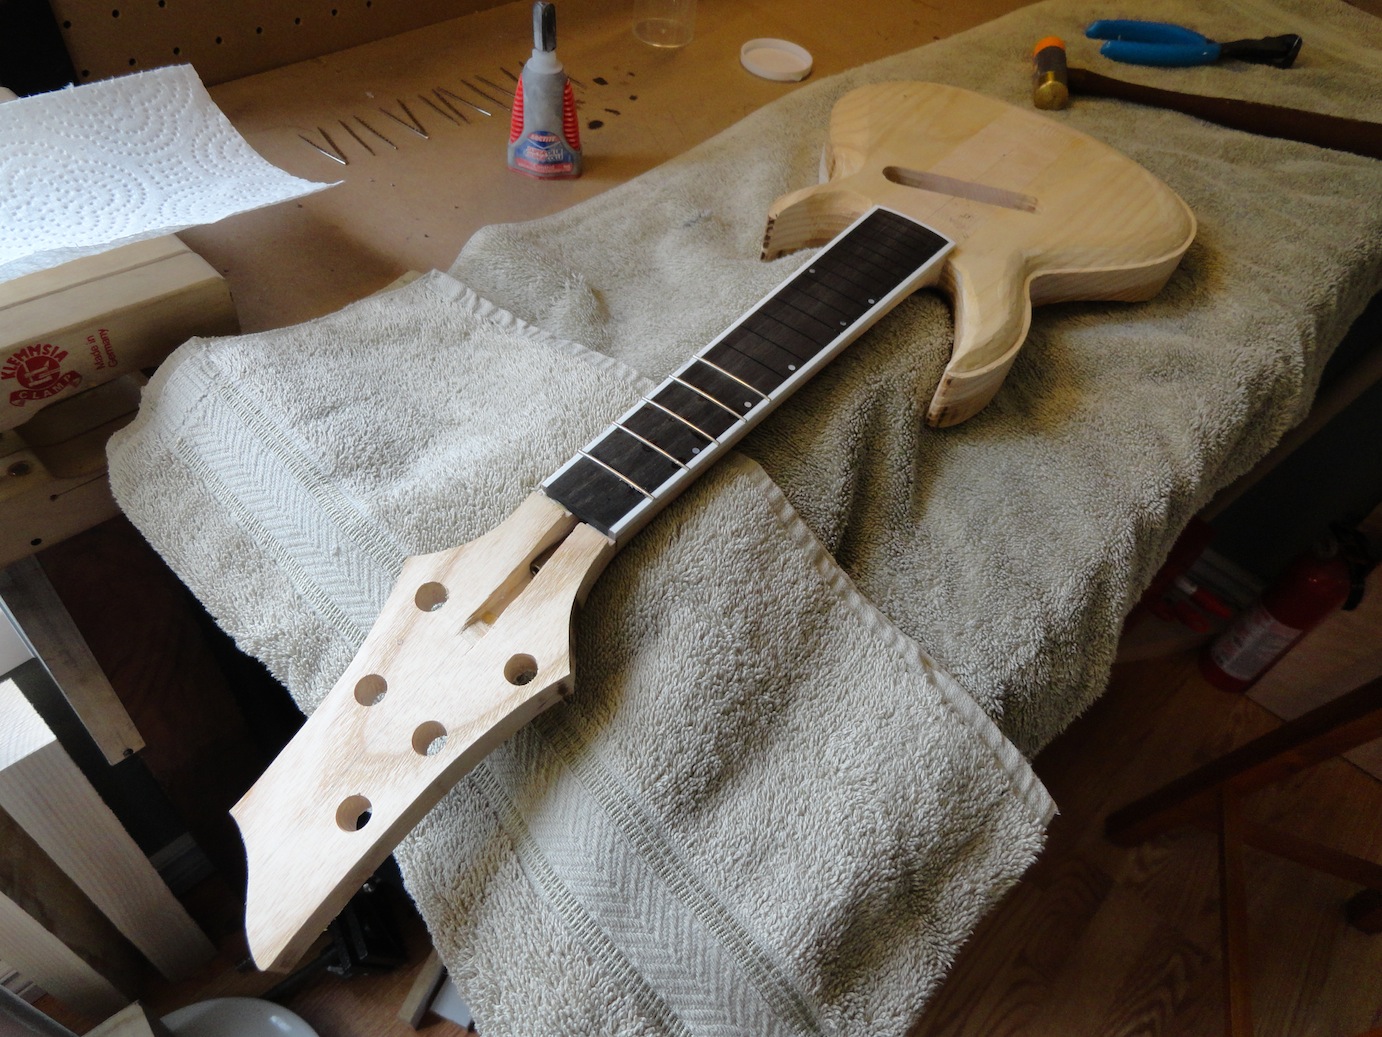
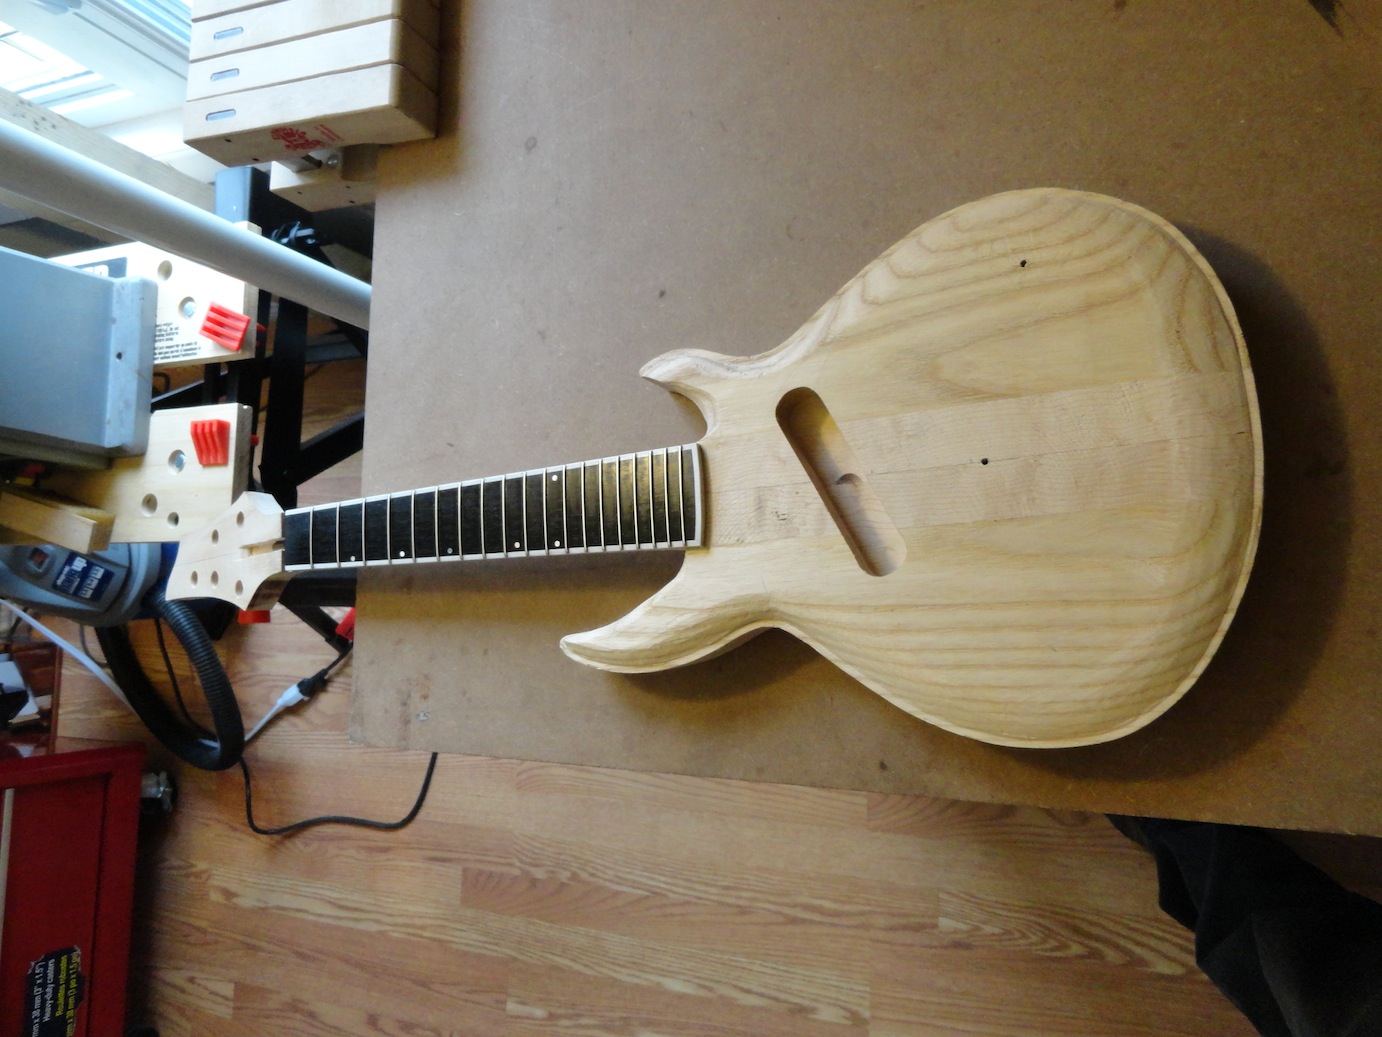
Once all the frets are hammered in and glued, the edges have to be bevelled, they need to be leveled, crowned and polished.
Here is te end result
- Details
- Hits: 8365
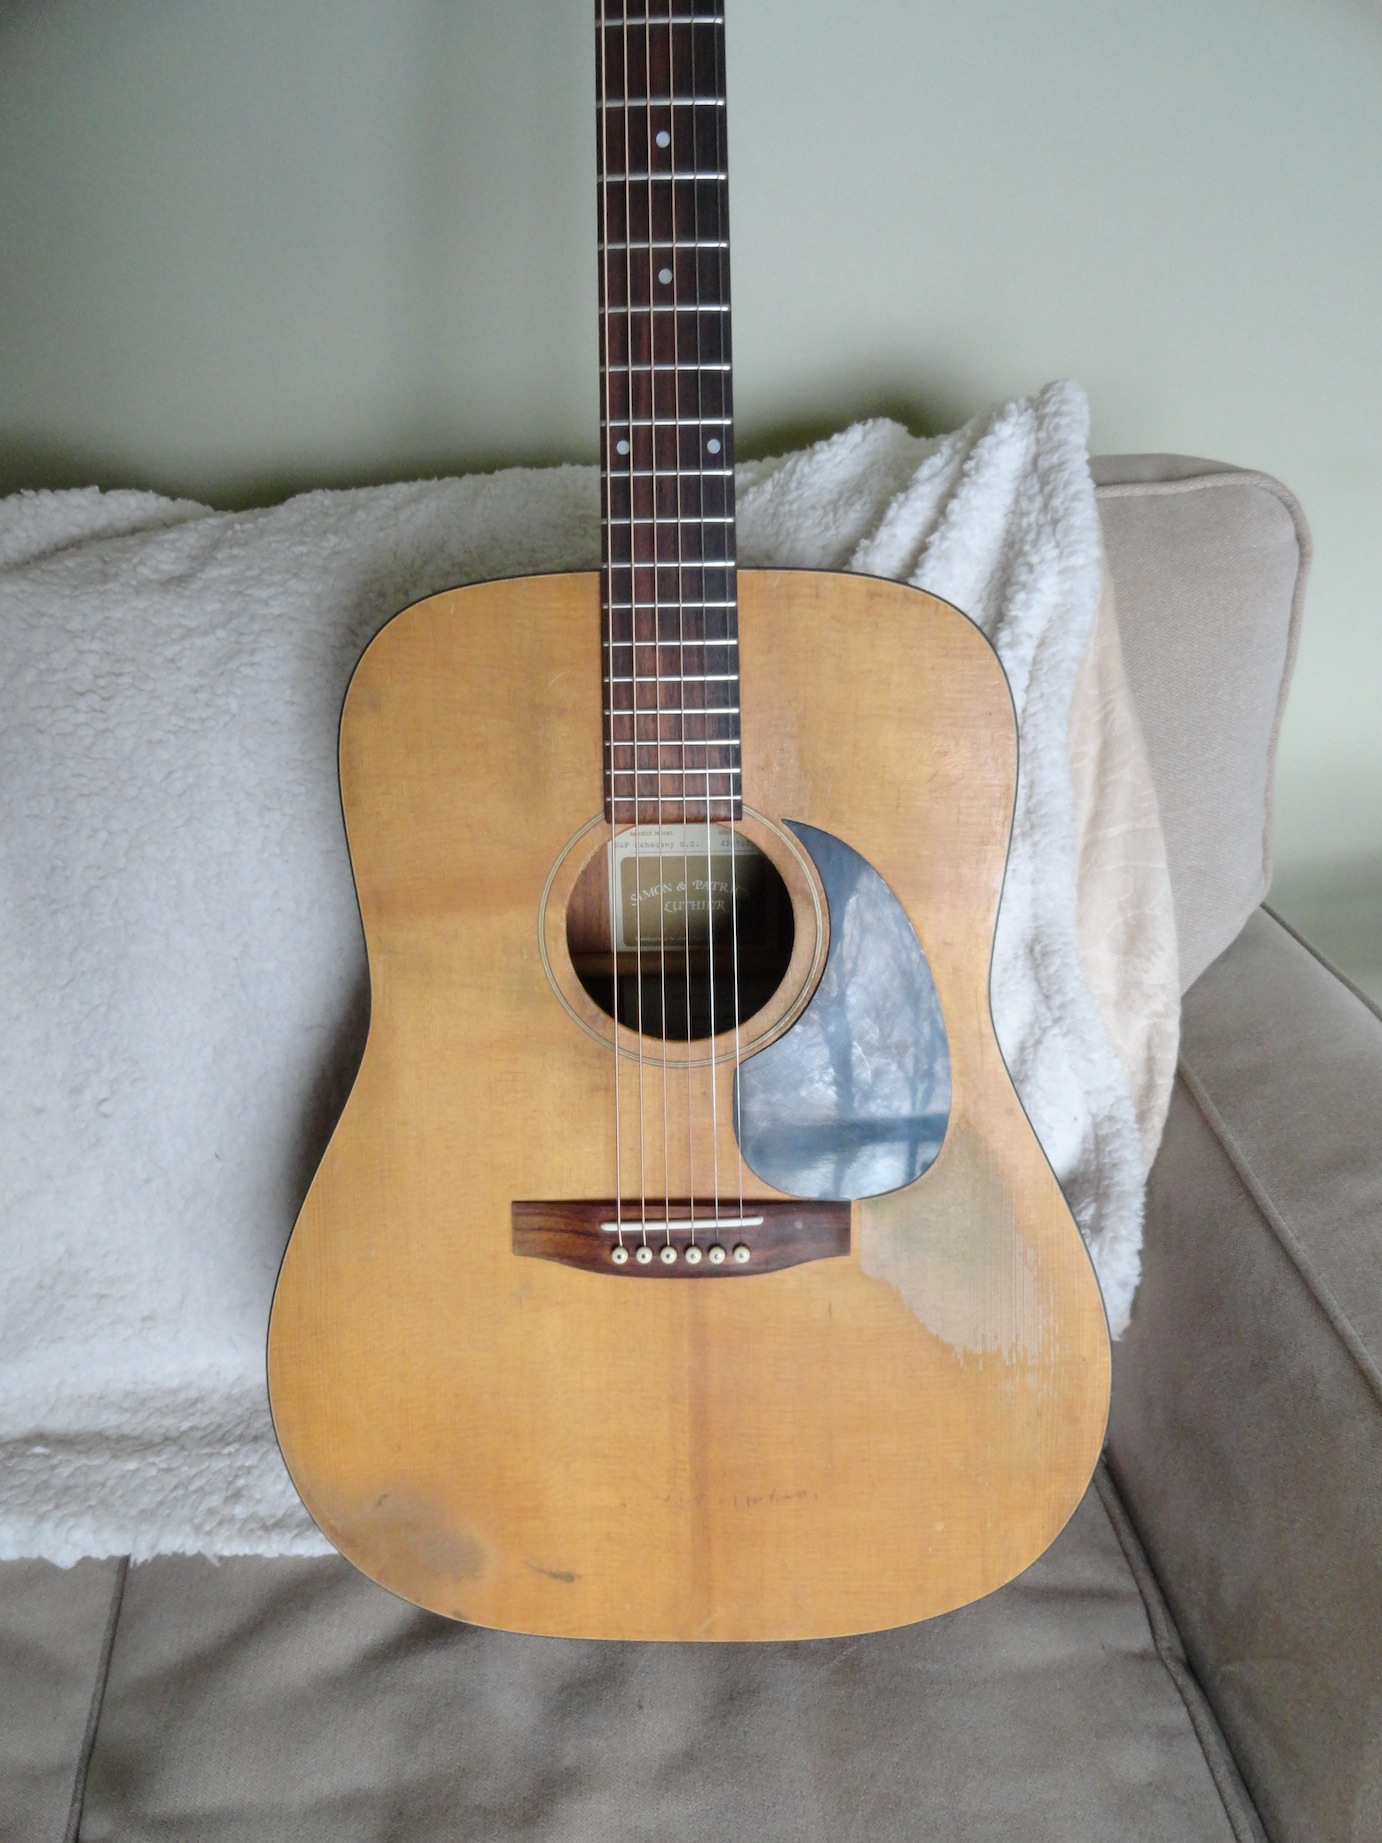
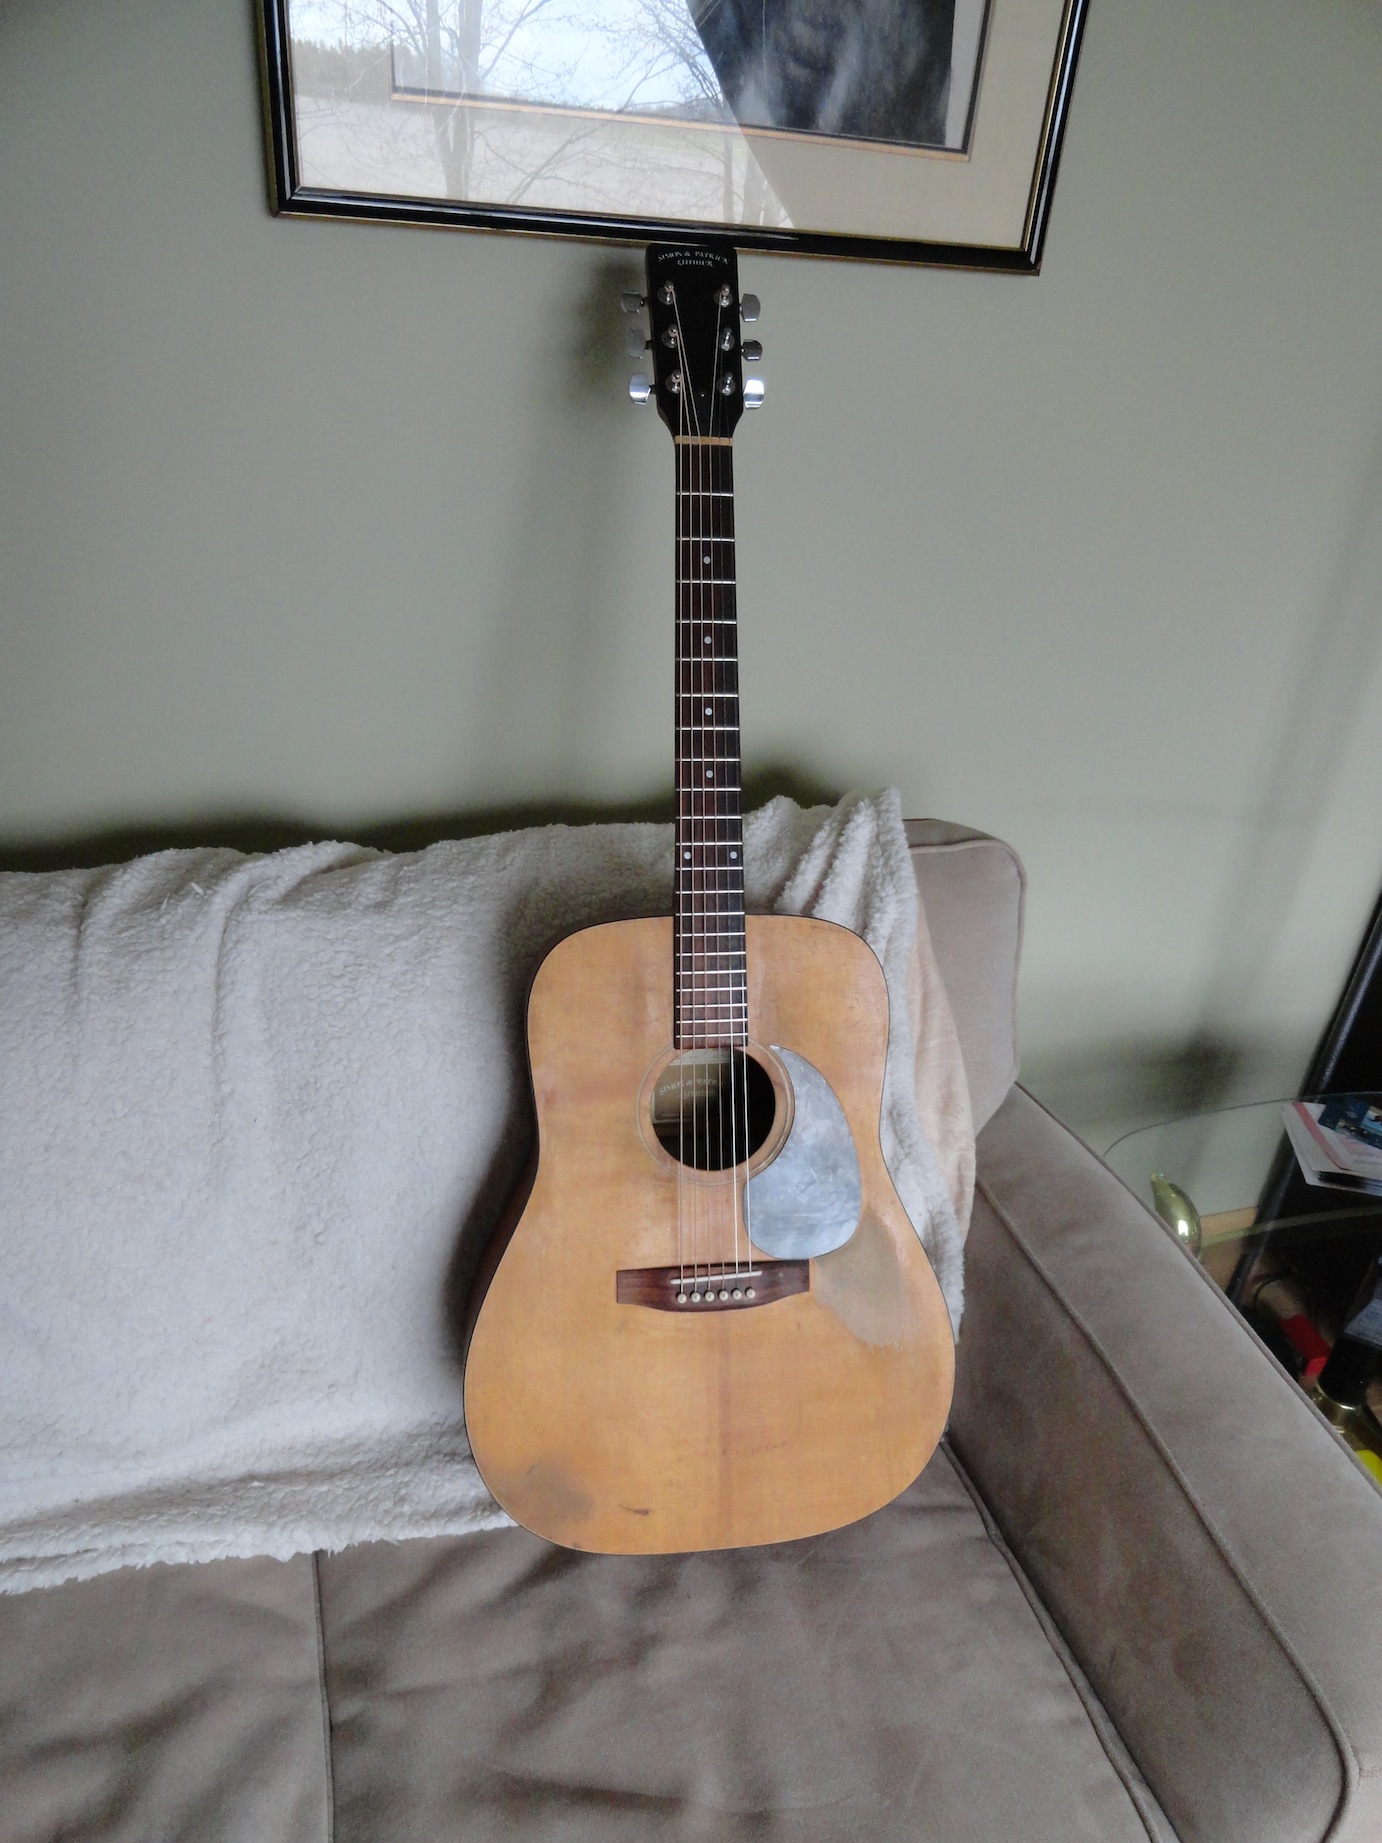
Well, thank you all for following the work on Jimmy's guitar. It's all done:
More Articles …
Page 4 of 5

